No matter how hard I try, I am physically unable to pack light for trips. My main weakness: makeup. I always bring way more than I should.
If I were forced to pick just one eyeshadow palette to bring with me on, say, a three-day trip to Las Vegas, that palette would have to be the new Lancome Stylish Neutrals Color Design Artist Palette.
This Friday morning El Hub and I catch a flight to Las Vegas (4:00 a.m., OUCH!) to hang out with my in laws, who are flying over from where they live in Hawaii to meet us there. We haven’t seen them in a while. It’s just a short three-day trip, so I don’t want to bring my entire makeup collection (actually, I do). Lancome’s Stylish Neutrals Palette has everything I should need.
It would be an understatement to say I’m a lil’ obsessed with this palette. I’ve been rocking the colors for a week. Here’s a super easy tutorial of a pink and light purple eye using four of the shadows.
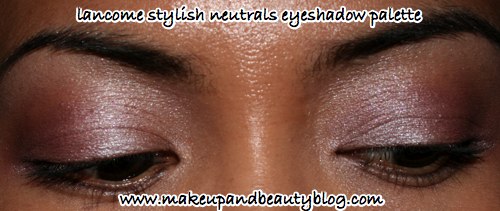
This map shows where the shadow placement should go:

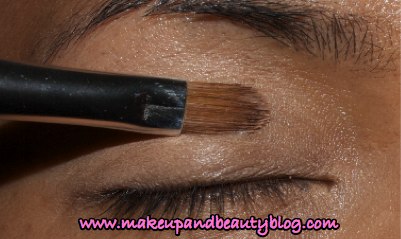
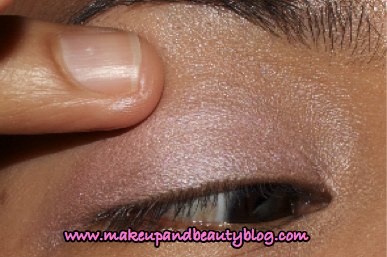
First, prep your eyelids. Apply a few dots of your favorite concealer and blend it thoroughly with a concealer brush. I used Dior Long-Wearing Moisturizing Concealer and Billy B’s Paintbrush #5.
Next, apply MAC Shadestick in Pink Couture to your lids and barely into your crease.
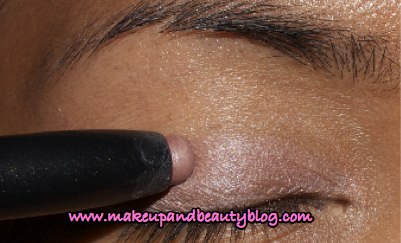
Use warm fingers to gently smooth out the edges.
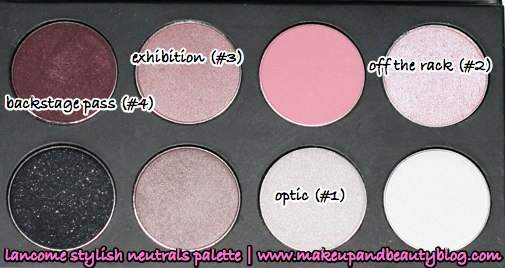
Now, grab a fluffy rounded edge brush, like the MAC 252 or Sephora Shader brush, and apply Lancome’s Optic eyeshadow (#1), a cool grey shimmer, to the brow bone.
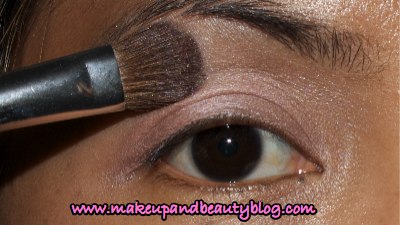
With the same brush, apply Off the Rack eyeshadow (#2), a metallic light pink, to your lids on top of the MAC Pink Couture Shadestick. Concentrating most of the color on your lid, bring the eyeshadow color up into the crease, fading it as you move upward.

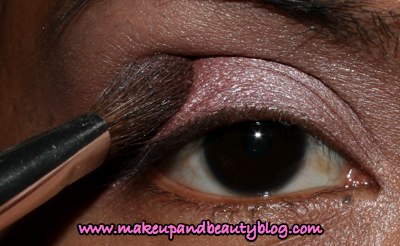
Next, still with the same brush, apply a shimmery mauve like Exhibition eyeshadow (#3) into the outer V. It’s a light but highly pigmented color. Go easy on it if you plan to wear the look to work. Be sure to dilute it first by tapping the brush against the side of the sink, or swipe the brush head against a piece of tissue or the back of your hand. Apply the color slowly, one layer at time. It’s always easier to add color than to take it away.
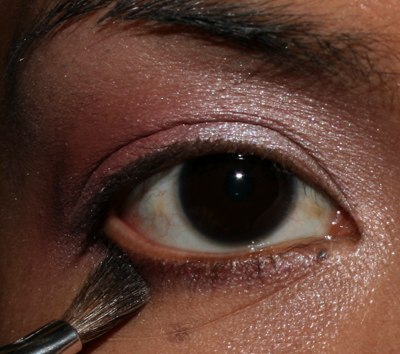
Now, using a stiff angled brush like the MAC 266 (yay!), apply Backstage Pass eyeshadow (#4), a dark matte burgundy, beneath the lash line. I prefer soft lines, so I applied the shadow dry. If you prefer more intense color and defined lines, wet your brush before using it.
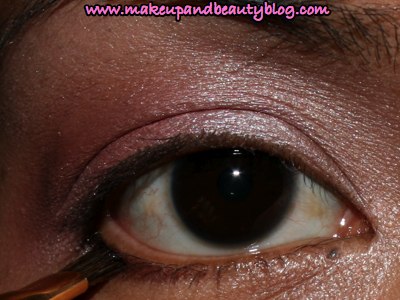
Next, grab a small fluff brush like the MAC 228, and blend a little more Optic eyeshadow (#1) just beneath the line you created with Backstage Pass (#4).
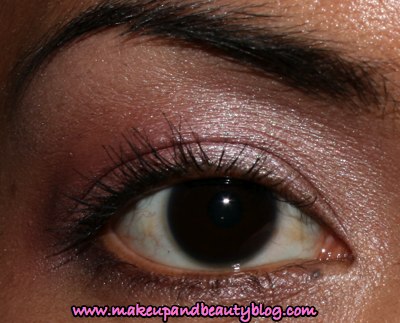
To finish the look, fill in your brows, curl your lashes and add two coats of mascara.
For my brows I used a MAC 266 brush with Concrete Eyeshadow, and on the lashes I used the Shu Uemura curler and Shu’s Precise Volume Waterproof Mascara.
Don’t forget your blush and your gloss! Here, on my cheeks I went with MAC Mocha blush, and on the lips that’s MAC Spice lipliner and Chanel Pink Crystal Glossimer lipgloss.
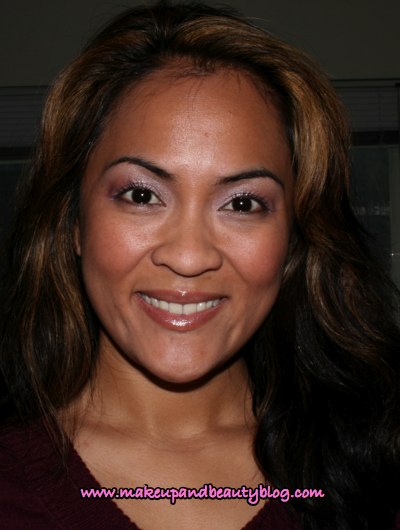
I like this look’s lil’ color punch. It’s not over-the-top and takes my laziness to new and glorious heights. All six shadows and the Shadestick work so well together and in so many different combinations that I can create any of several different eye looks in 10 minutes from start to finish.
I hope you had a mellow Wednesday. Keep on truckin’, girlfriend!
Your friendly neighborhood beauty addict,
Karen


