• Skip to main content
  • Skip to primary sidebar

Makeup and Beauty Blog | Makeup Reviews, Swatches and How-To MakeupMakeup and Beauty Blog | Makeup Reviews, Swatches and How-To Makeup

A beauty blog blooming with fresh makeup reviews, swatches and beauty tips from your friendly neighborhood beauty addict

  • Home
  • About
    • About
    • Contact
    • FAQ (Frequently Asked Questions)
    • Advertising & Media
  • Categories
    • Product Reviews
    • Makeup
    • Skincare & Fragrance
    • Style & Fashion
    • Hair
    • Nails
    • Tips & Tutorials
    • Just for Fun
  • Brands
  • Store

Makeup Tips/How To

3 Playfully Pink Chanel Rouge Allures From the Permanent Collection

June 23rd, 2021 by Karen 7 Comments

chanel rouge allure ink 170 euphorie
Fun with some Chanel lippies!

Chanel. Pink. Permanent!

Thou speaketh magic words to mine ears! Or, should I say “magic words to my lips”? Hmm!

I’ve been wearing lipstick very infrequently over the past few months (sunscreen, however, is a totally different story!), so when I started downsizing my collection in May, I promised myself that the only legacy lipsticks I would keep going forward are ones I absolutely adore.

I’ve gotten rid of most of the dead weight by now and am finally at the point where I actually have to try stuff on to determine if I want to keep keeping it, and these three Chanel lippies are the next ones on deck.

chanel rouge allure 170 91 24 swatches
So pink!

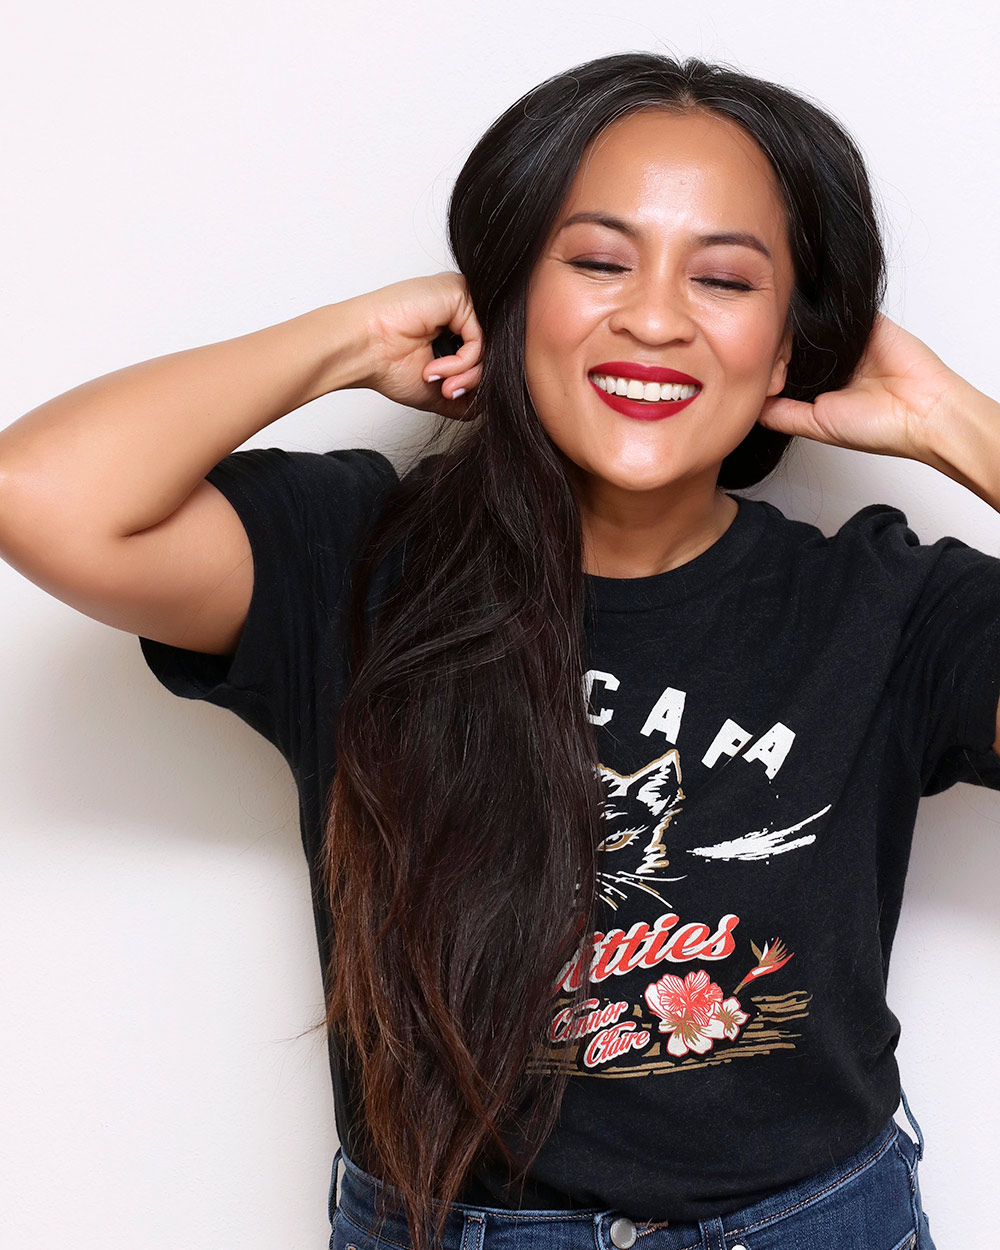
Raspberry reddish pink Rouge Allure Ink in 170 Euphorie ($40) is a lightweight matte liquid lipstick that, for some reason, looks more red in these pics! — but less so in person.

Rouge Allure Velvet in 42 Eclatante ($40) is a bright and summery coral pink with a soft matte finish and like Euphorie it feels light on my lips. It also looks fantastic with black cat eye liner!

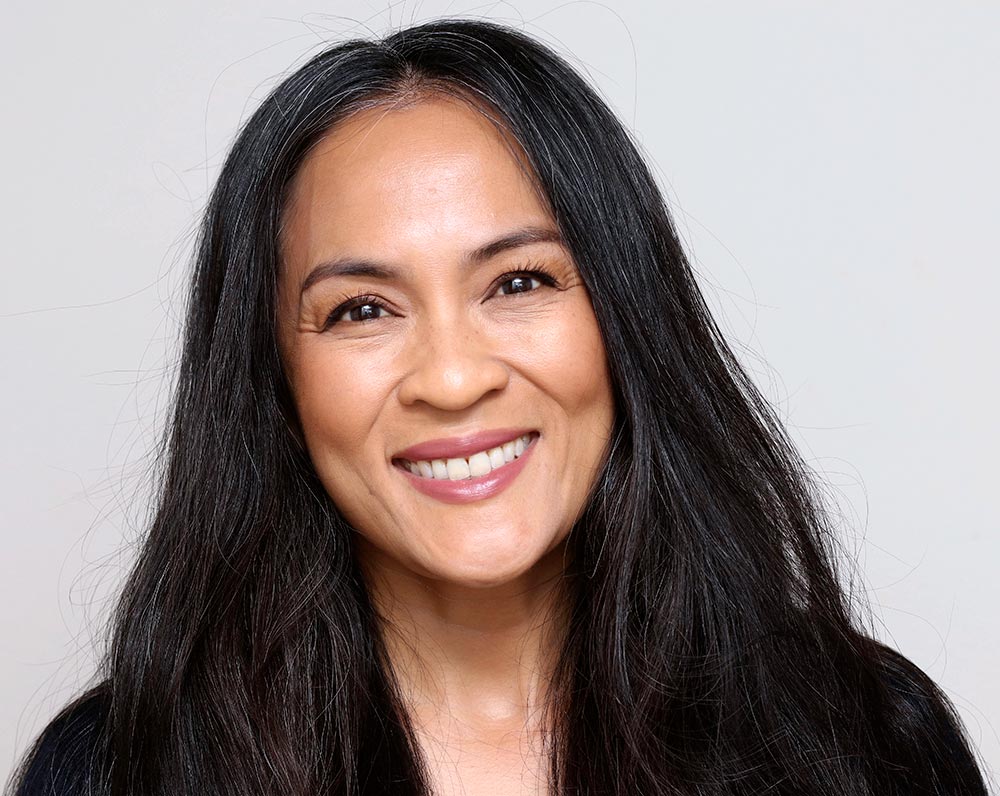
Rouge Allure in 91 Seduisante ($40) is a warm pink with a creamy finish, and I can see it being a lovely everyday color.

chanel rouge allure 91 seduisante
Rouge Allure in 91 Seduisante
chanel rouge allure velvet 42 eclatante
Rouge Allure Velvet in 42 Eclatante
chanel rouge allure ink 170 euphorie swatch
Rouge Allure Ink in 170 Euphorie

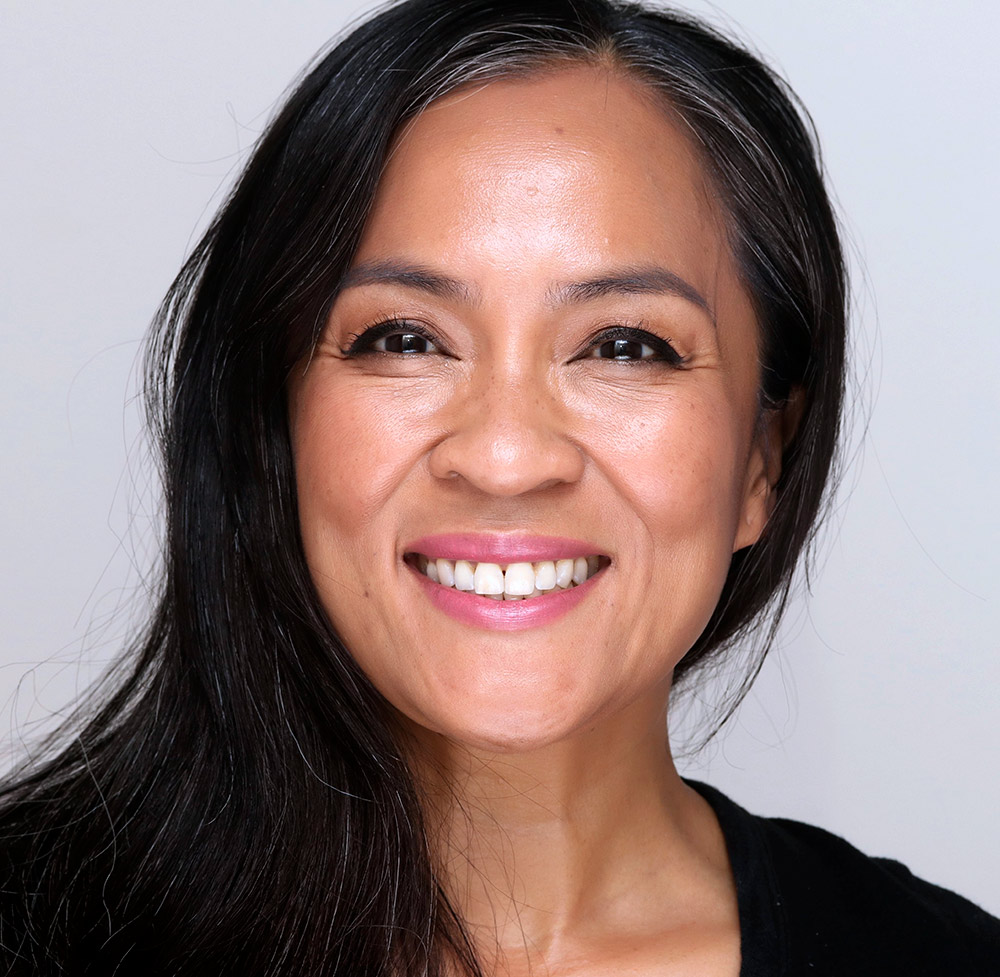
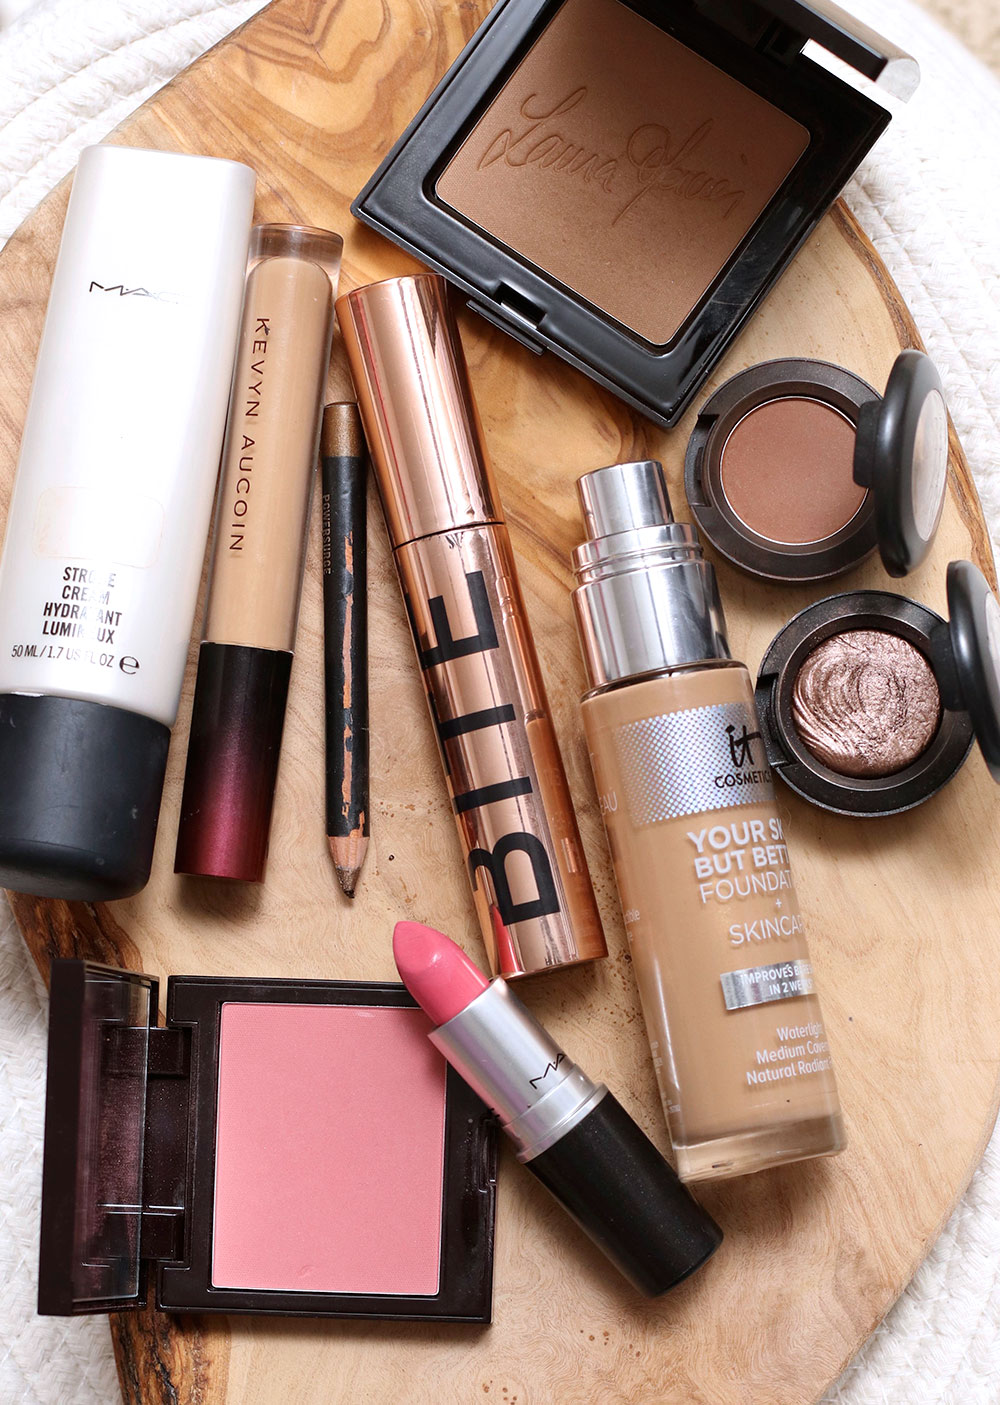
The rest of the makeup in this look

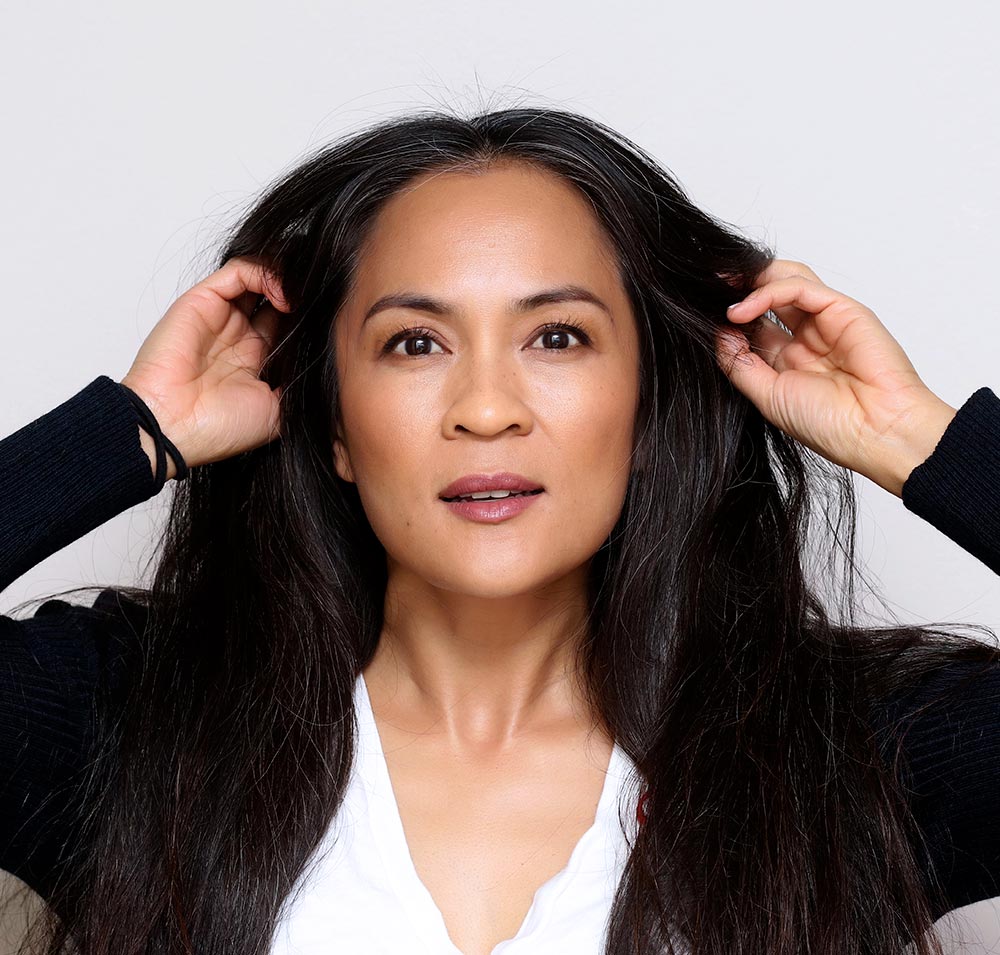
Lately, I’ve been trying to find ways to wear makeup that work for me… By that I mean that I don’t want to feel overwhelmed by the thought of blending, or, like I’m wearing a sh*t-ton of stuff on my skin. I just want to feel pretty in makeup again, ya know?

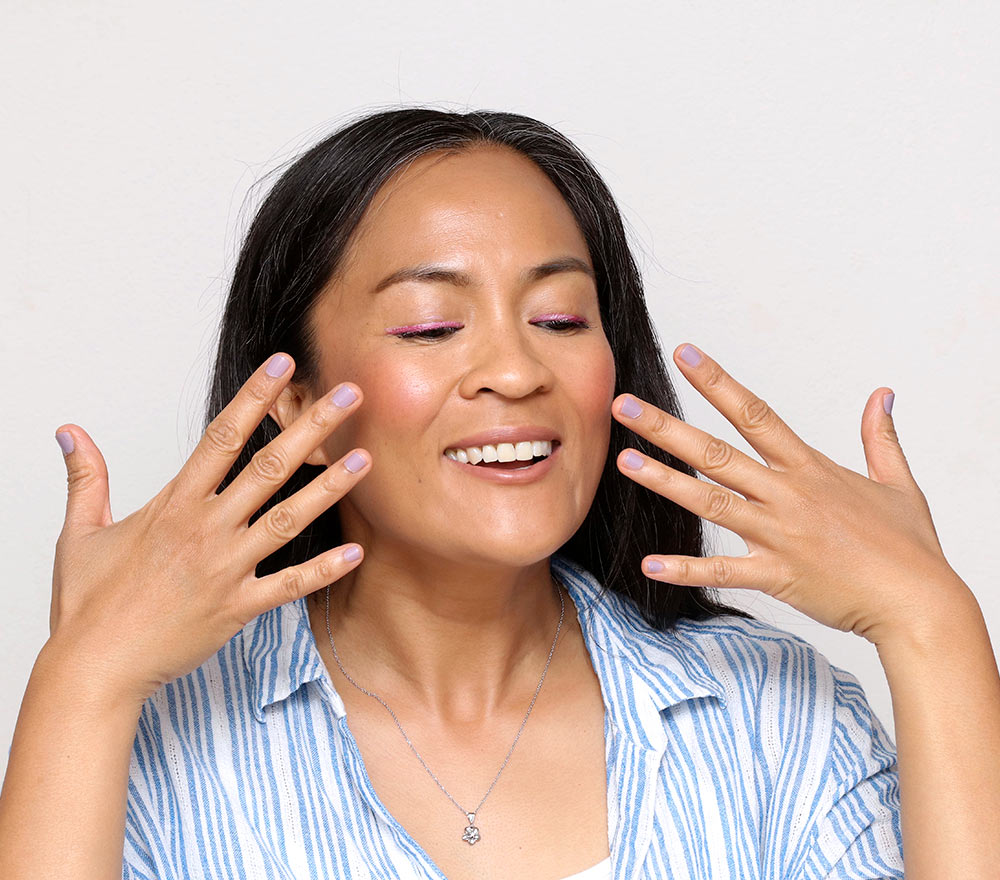
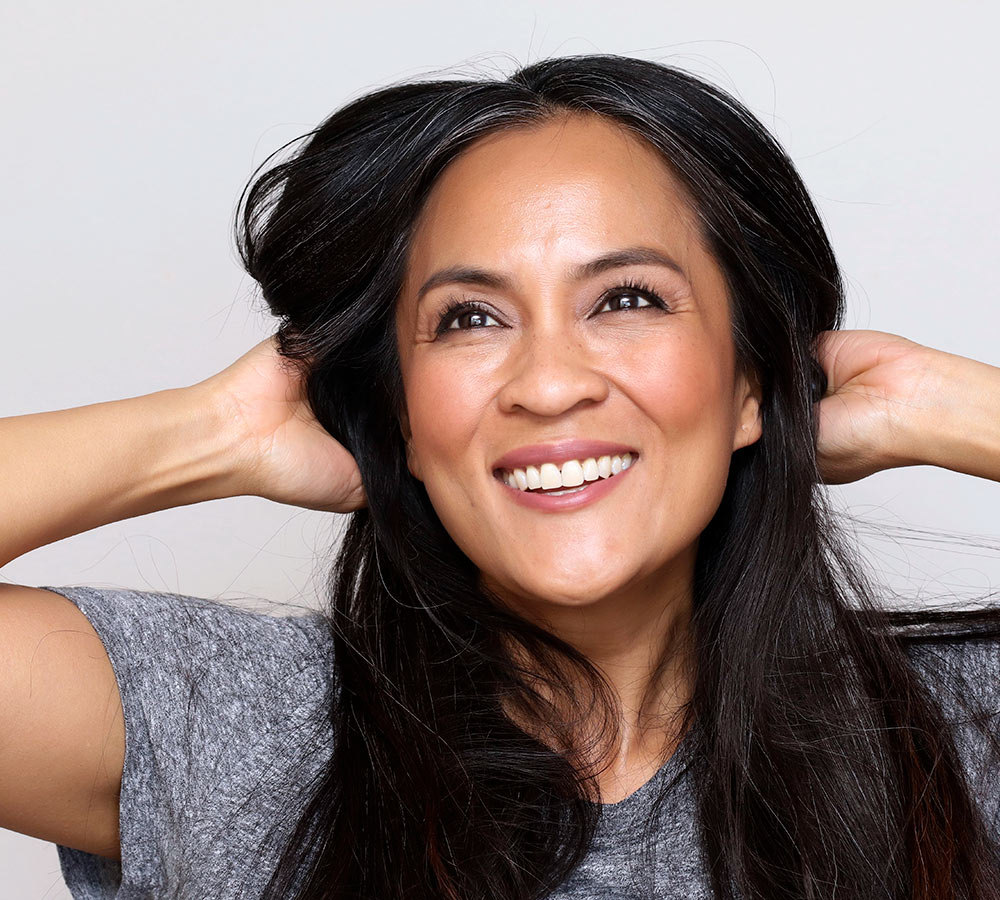
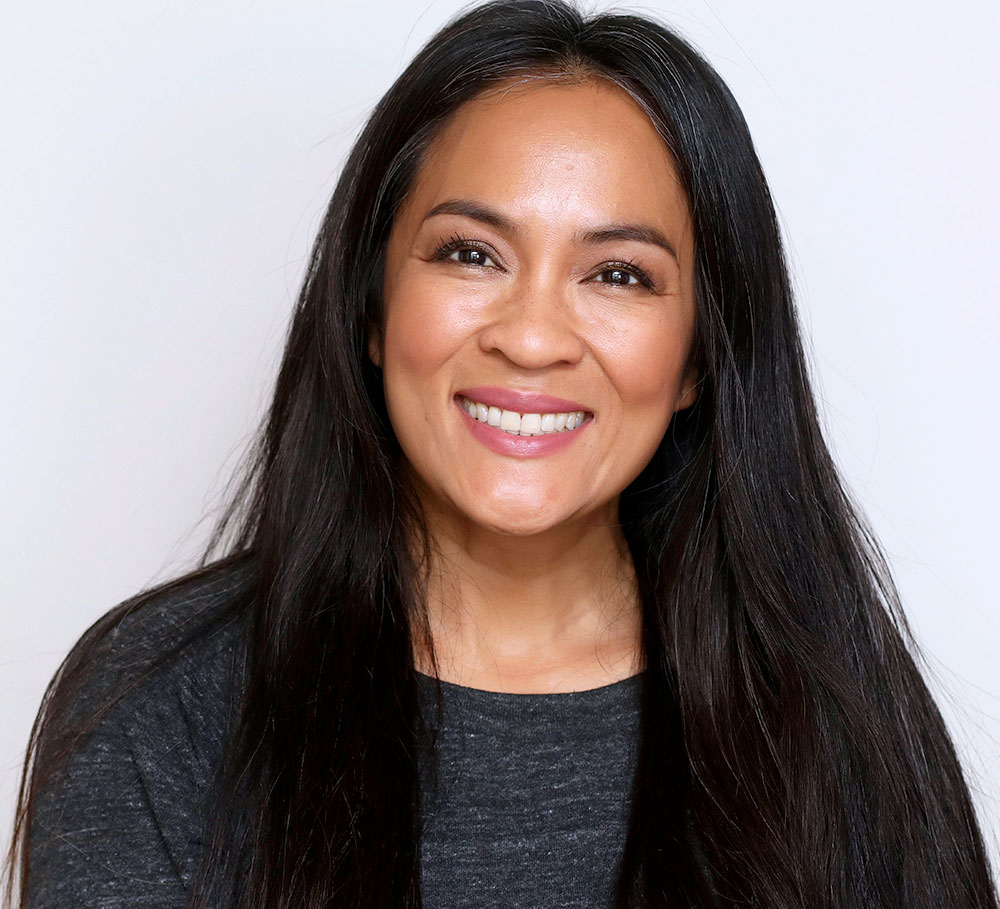
I think I’ve finally found a philosophy that works for me (at least for now). I just wear a little bit of eye makeup, coupled with keeping my skin as simple as possible. Then, I incorporate a fun lipstick in a joyful color.

In this look, I’m wearing a lot of Chanel!

chanel rouge allure 170 91 24

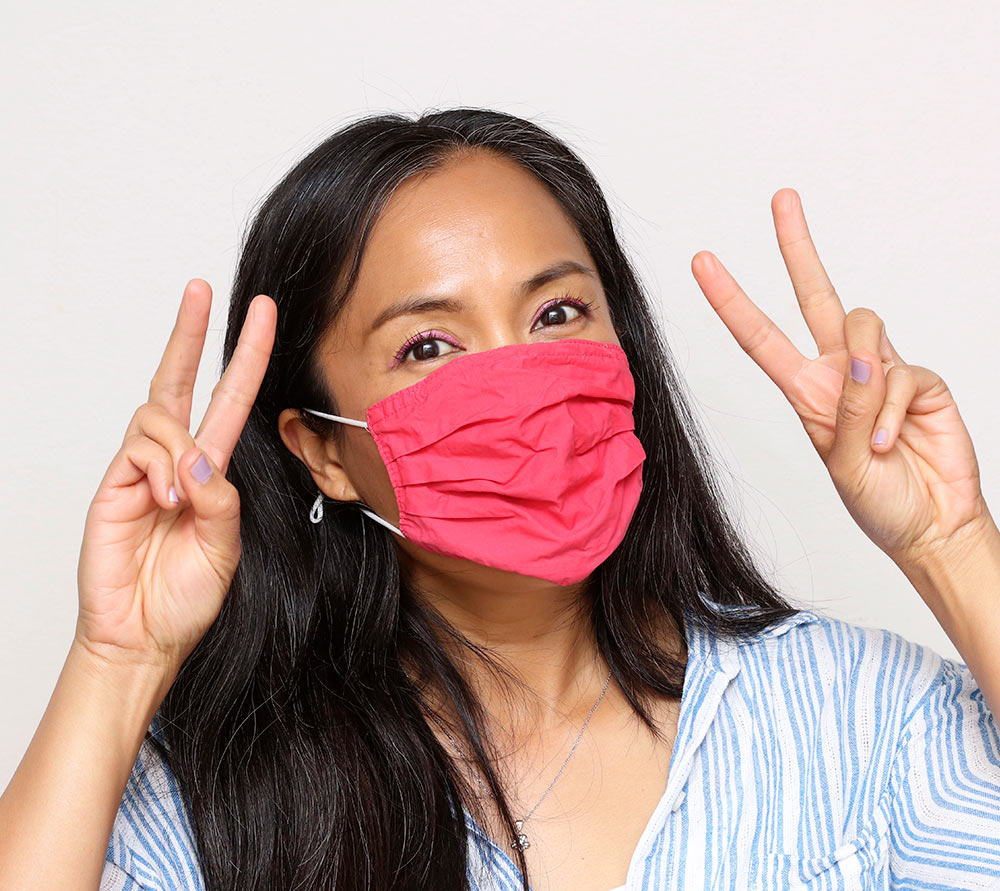
For the skin, I started by applying a new tinted mineral sunscreen by Avene called Solaire UV Mineral Multi-Defense Tinted Sunscreen Fluid. It’s fragrance- and oil-free, and the tan tint actually works on my NC42 skin tone. I’ve yet to test it out on a very sunny day, but so far, I’m into it!

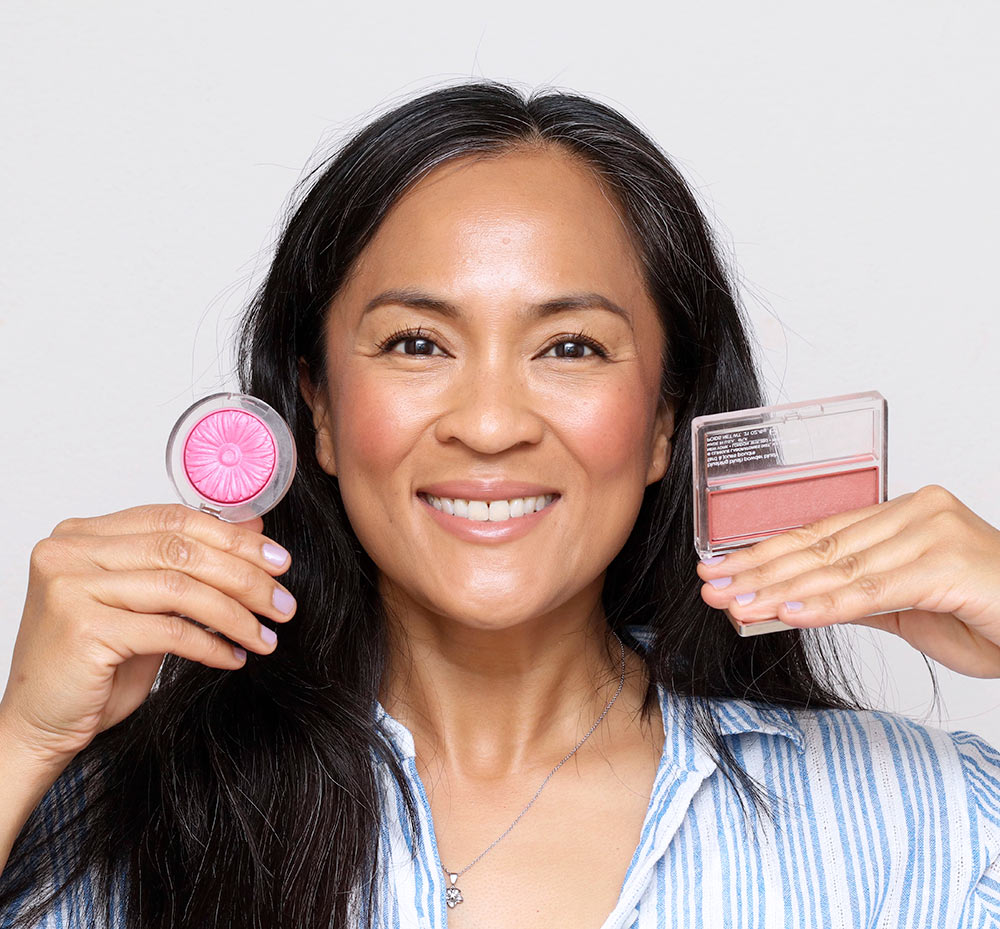
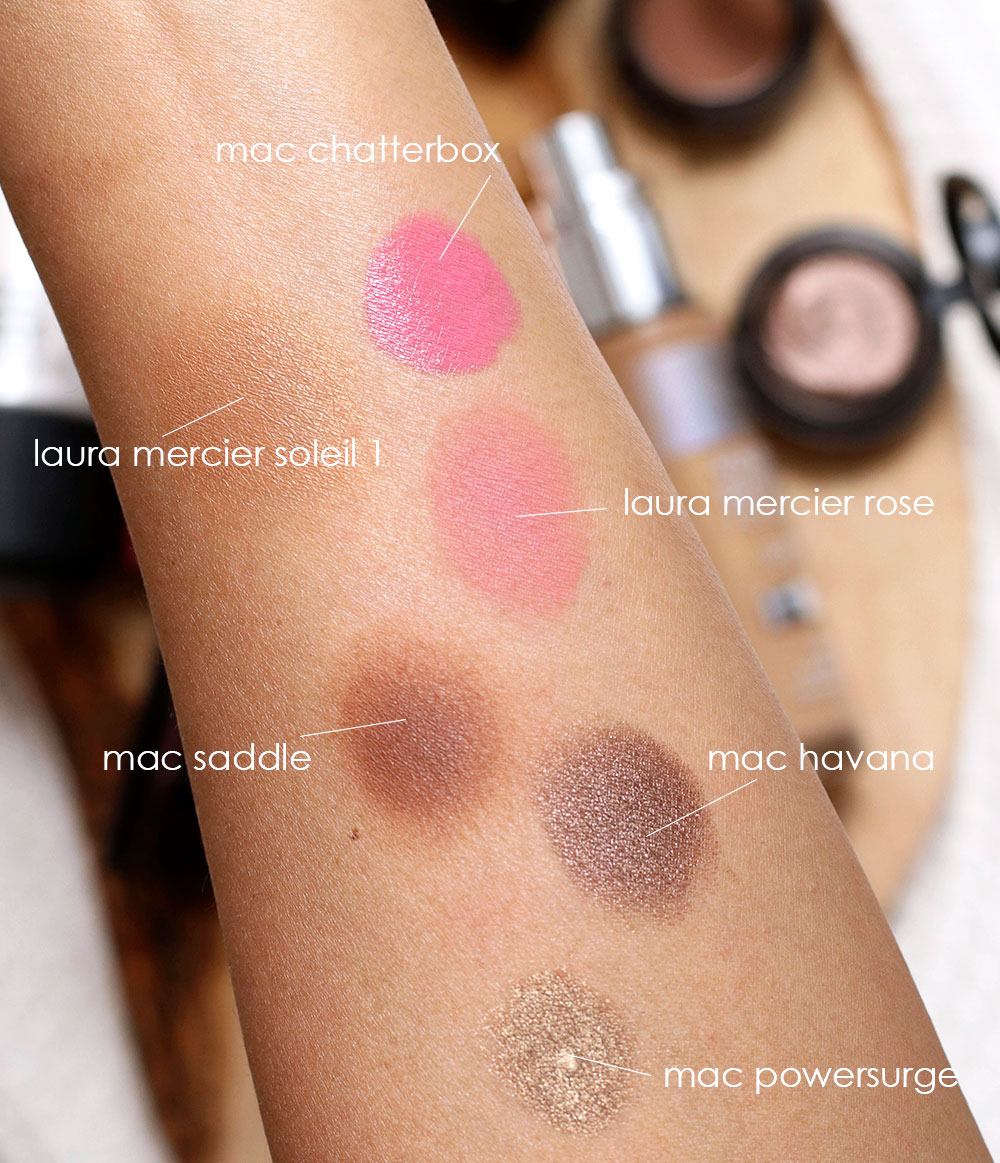
Then, I blended a few drops of Chanel Vitalumiere Aqua Sunscreen Makeup on my cheeks, my nose and my upper lip; added a few drops of Hourglass Veil Retouching Fluid in Sand under my eyes; and dabbed a golden tan cream blush (Chanel Les Beiges in No 20) on my cheeks.

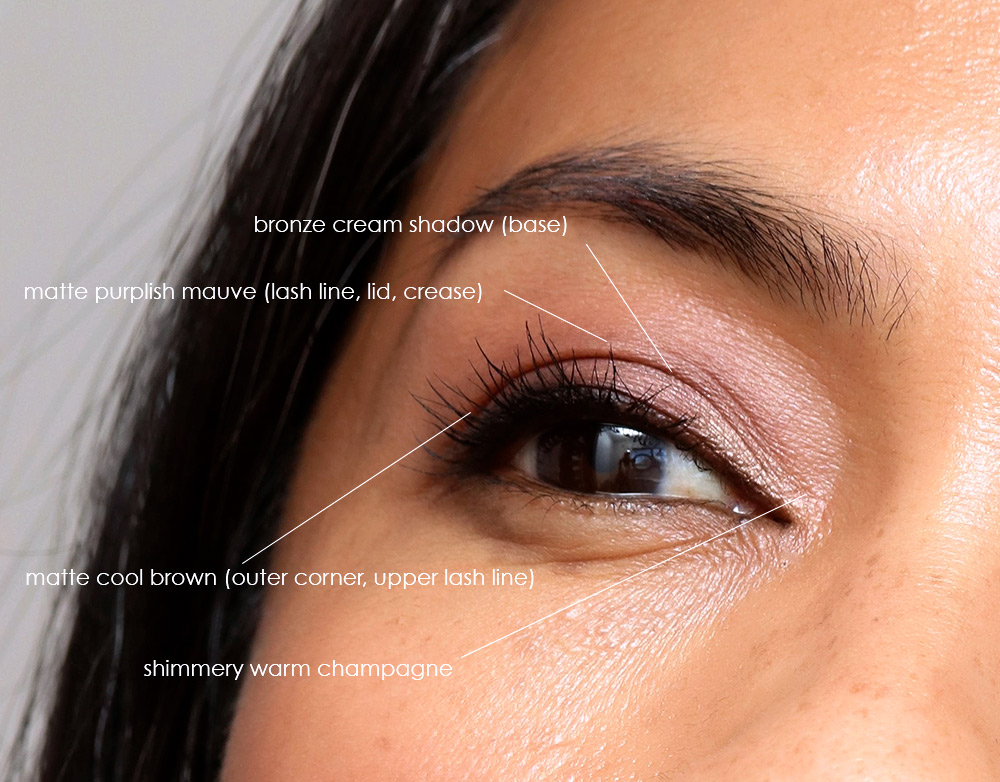
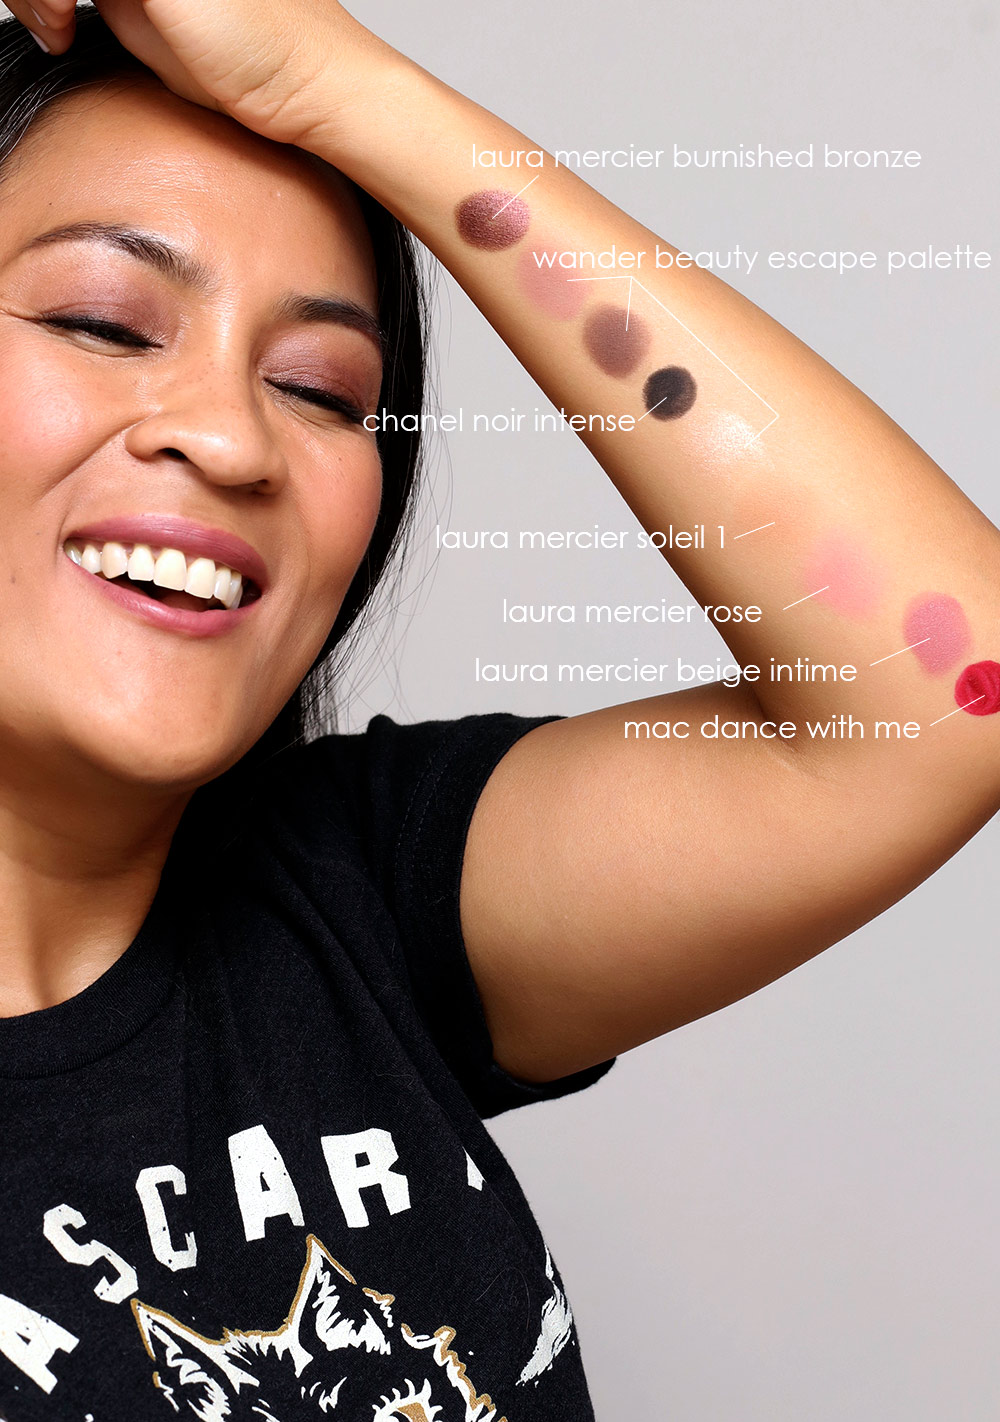
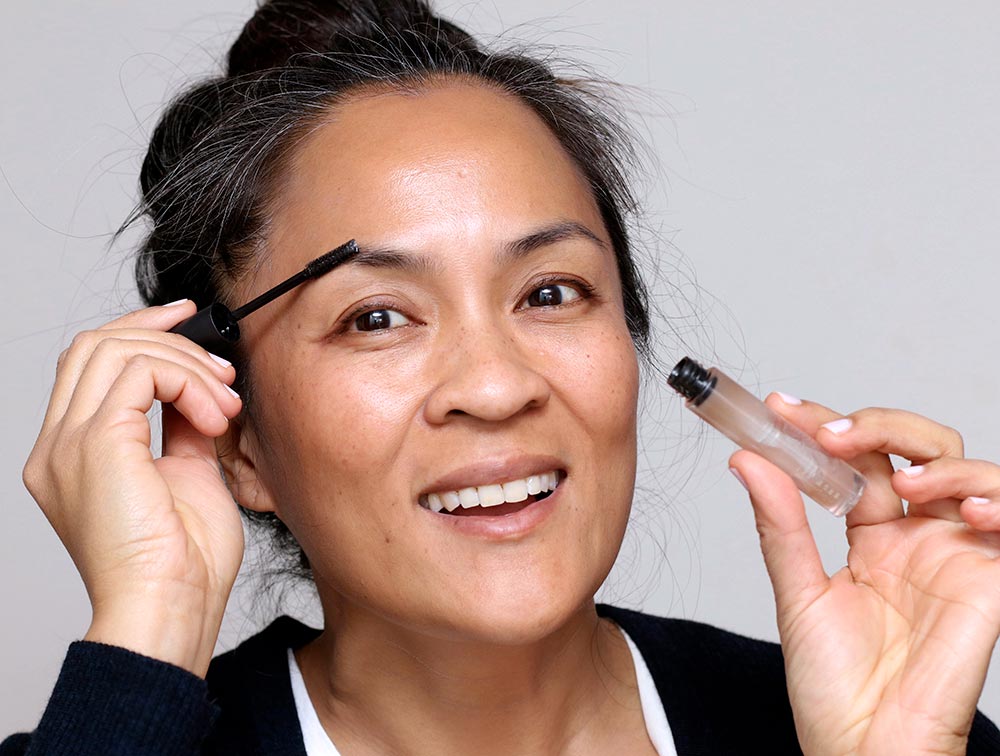
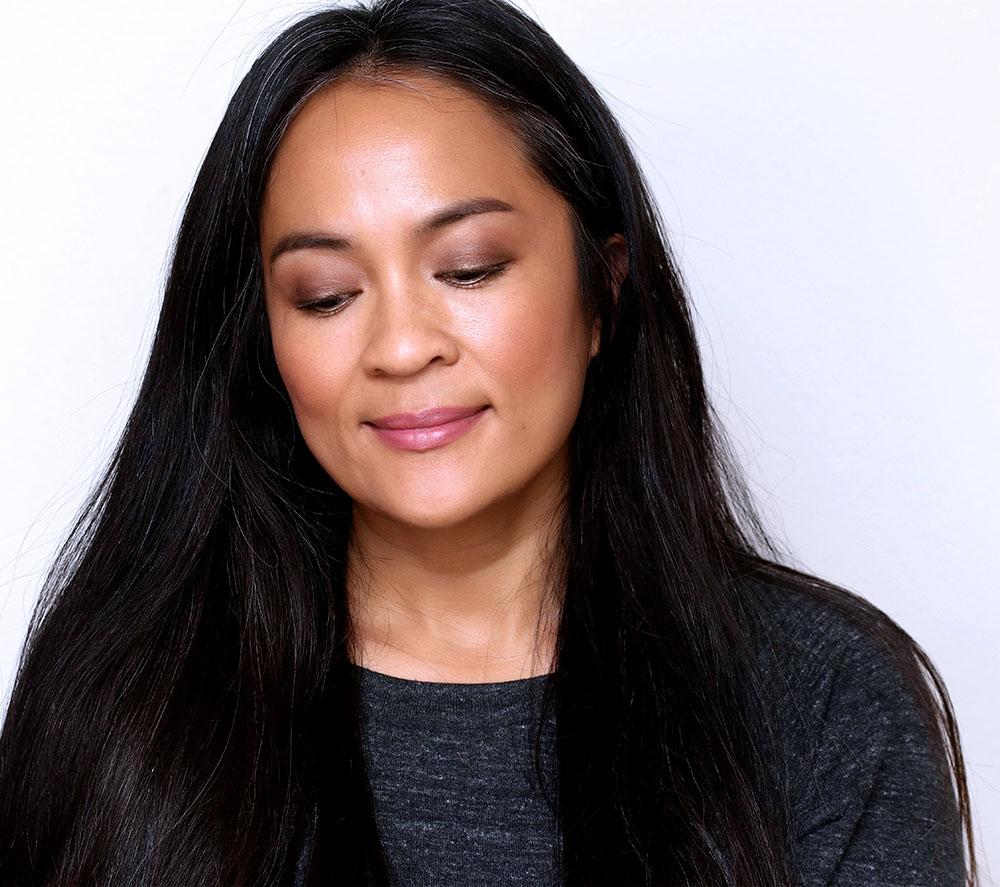
For my eyes, I started by lining my upper lash line with Hyperblack, Chanel’s long-wearing cream liner in a pot. Next, I swept the golden brown from the Chanel Road Movie quad to give some depth to my lids, and smudged the edges of the liner with the matte navy shade from Road Movie. To finish, I filled in my brows with Chanel Boy Brow in Black and coated my lashes with Laura Mercier Caviar Mascara.
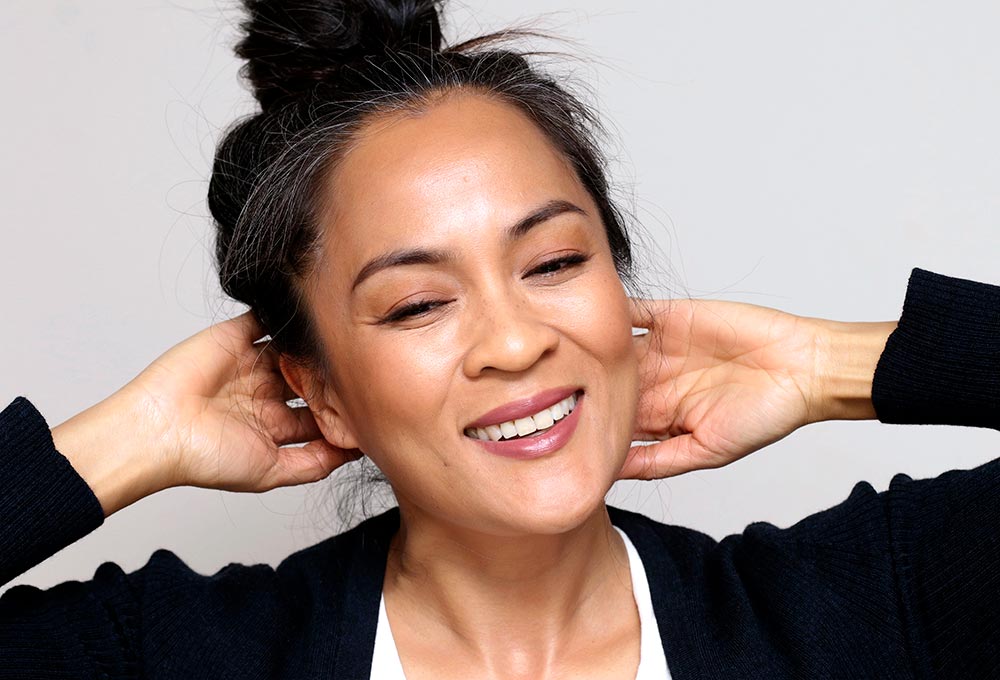
Done! ?

What makeup looks have you been into lately?

Your friendly neighborhood beauty addict,

Karen

P.S. Happy hump day! ?

There are 7 comments on this post. Leave yours.

Categories: Chanel, Face of the Day (FOTD), Lips, Makeup, Makeup Tips/How To

9 Tips for Purging Your Makeup Collection | The Great Makeup Purge of Summer 2021

June 1st, 2021 by Karen 8 Comments

the great makeup purge of 2021
To quote Boyz II Men, “It’s so hard to say goodbye to yesterday.”

Hi, my friend. How was your weekend? Did you get a three-day? I hope it was equal parts relaxing and productive, just because I always like that. I like when I get some time to relax but also feel like I accomplished something on my to-do list.

But, of course, anytime you get to spend a few days recharging, that’s always a good thing. One lesson I’ve learned the hard way is that downtime is essential. It’s straight-up vital, because if we burn out, we’re no good to ourselves or those around us. (Side note: why does it seem like all of the big “adulting” lessons have to be learned “the hard way”?)

My weekend was spent doing some relaxing and some productive things. I went to the pool and the beach on different days, and I also made some serious headway on what I’m dubbing from this point forward as “The Great Makeup Purge of Summer 2021,” and you know what? I FEEL GREAT!

A few weeks ago I talked about how I’ve been wanting to scale down my makeup collection, because as a beauty lover and a sentimental person, it hasn’t been easy for me to let go of things — like that Chanel Garden Party quad I’ve had since 2008 (!) that I haven’t worn in years. I know I hold onto makeup for way too long.

I’ve tried a few times over the past few years to get my collection in check, but I don’t think I’ve ever been ready to commit before.

But I am now.

The push I needed finally came via a recent closet cleanout, which, by the way, wasn’t easy. It took several weeks and lots of starts and stops, but saying goodbye to all of the clothes in my closet that didn’t fit me anymore has been the most freeing thing I’ve done for myself in years. I have so much extra physical and mental space now, which I’d like to carry into other aspects of my life.

I’ve decided that it’s time to finally do it, and here are some of the helpful things I’ve discovered so far…

TIP 1: Move everything into the garage

A few weeks ago, I packed up all of the makeup that was in my office into seven big totes and four cardboard boxes, and I moved everything into the garage. I did this all in one afternoon. (Mind you, I’ve been beauty blogging since 2007, so there was A LOT of stuff.)

The reason behind this? I wanted to physically remove all of the makeup from my office. In the past, when I’ve tried to purge products inside my space, I’d end up moving makeup from one spot to another. I would label everything with the intention of eventually organizing it all and scaling it down, but that part never happened.

I figured that moving everything into the garage would shake things up, and also, if I really wanted that 10-year-old palette or that 12-year-old lipstick to come back inside the house, I’d have to make the effort to haul it back.

TIP 2: Set a 15-minute limit for purging

Every morning for the past couple weeks, I’ve gone into the garage with a timer set for 15 minutes. I set it for that because I know I get overwhelmed when I try to bite off too much at a time.

For those 15 minutes, I sort through the totes and decide if something will be recycled, or if it’ll be brought back into the house.

TIP 3: Schedule your purging for a time in the day when you have the most energy

I do the sorting early in the morning because that’s when I have a deeper well of strength to draw from. Saying goodbye to stuff that you’ve had for years is…surprisingly hard to do, so I do it when I have the most energy and the most mental fortitude.

TIP 4: Use mental tricks when you hit plateaus

In the beginning, it was really easy and very clear what needed to go. I’d open a tote and the things that had to be recycled were extremely obvious — lipsticks and cream products that were hella old, anything that smelled funny or looked separated or “off,” or things that I haven’t worn in a decade immediately went into the recycling bin.

I’ve gotten to the point where it’s getting harder, though. I go into the bins and everything *seems* keepable.

To get past this, I’ve started using mental tricks, which is what I did when I hit a plateau when I was cleaning out my closet. Like, when I found a piece of clothing that I liked but haven’t worn in years, I’d physically try it on. Oh, boy, that was a huge eye-opener. When you’re standing there with a jacket that you can’t even get an arm through a sleeve, it becomes very apparent that you need to LET THAT SH*T GO.

TIP 5: Hold it in your hand and talk yourself through it

One thing I do with the makeup is hold it in my hand and ask myself how many times I’ve actually worn it in the last few years. Then, I remind myself that I’ve been living without it for so long, and I won’t miss it when it’s gone. That seems to make it easier to say goodbye.

This sounds silly but it works!

TIP 6: The four-year time frame

I also use a four-year time frame as a reference. I chose four years because it’s the time someone can start and finish high school or college — times of big change in one’s life.

For instance, If I’m standing there holding a palette I haven’t worn but have had long enough for a student to start as a freshman and graduate as a senior, it becomes very clear that it’s time to let that palette go…

TIP 7: The “10 things” trick

Another trick I’ve used to help move things along when I hit a plateau is to go into each tote and remove just 10 things that can be recycled. It sounds simple, but it REALLY HELPS when I’m stuck.

TIP 8: Think of the end goal

Every time I’m out there purging, I think about my end goal, which is to keep makeup that I absolutely love and use often. I remind myself over and over again that once I let go of the things that are just physically and mentally taking up space in my heart and my home, I’ll have so much more room for other things in my life. I jokingly told El Hub over the weekend that if he needed me, he could find me in the garage purging makeup and hurdling toward my new life. Sounds silly, but that’s what it feels like every time I’m able to let something go. I feel like I’m charging toward a lighter and freer version of myself. I feel a little less burdened, and it feels good.

TIP 9: Make space to hold onto some things you love

FYI, I do plan to hold onto some old stuff for nostalgia’s sake. I’m thinking that I can keep one tub solely for makeup memories, for the collections that moved me deep in my core (MAC Mariah Carey, Fabulous Felines and of course, Blogger’s Obsessions), along with things that I remember using and loving. That way I don’t feel like I have to say goodbye to everything.

I’ll update you on my progress. Mind you, it might take months, but at this point I know I can get there, and I can’t wait to be on the other side.

Your friendly neighborhood beauty addict,

Karen

There are 8 comments on this post. Leave yours.

Categories: Makeup Tips/How To

Fresh, Fun Spring Trends to Try

April 1st, 2021 by Karen 12 Comments

easy fresh spring trends 2021

Which of these spring trends would you like to try?

Peach and plum layered blush

This trend combines two of my favorite shades of blush — peach and plum!

Start by sweeping a satin or matte peach blush on your cheekbones; then, dab a touch of a satin or matte plum just on the apples of your cheeks.

Gently blend the colors with a blush brush for fresh, glowing cheeks. ?

easy fresh spring trends 2021 layered blush

Matching or complementary pastel nails and liner

This is an easy way to add some fun color to your look during these mask-wearing times.

First, if you want foolproof, choose a matching nail polish and liner. If, instead, you’re in the mood to play, then pair pastels together. Here I’m wearing a creamy pastel purple polish (Chanel Purple Ray; it isn’t available nowadays, but Chanel Mirage is similar) and shimmery pink liner on my upper lash lines.

easy fresh spring trends pastel nails and liner

The hottest trend in liquid liner

Introduce an unexpected element into your makeup with some unique, organic shapes. To make the most of this up-and-coming spring trend, I suggest incorporating your mask in some way.

easy fresh spring trends graphic liner

[Continue reading…]

There are 12 comments on this post. Leave yours.

Categories: Just For Fun, MAC Makeup, Makeup, Makeup Tips/How To

One Bronzy Mauve Eye Look, Two Lip Options

February 11th, 2021 by Karen 7 Comments

wander beauty wanderess escape palette mac dance with me
One bronzy mauve eye look, two lip options

Looking for an easy eye makeup look that looks better than the bare minimum and works with a wide variety of lipstick colors? If you are, have I got an eye look for you! ? Check out this bronzy mauve…

Yeah, yeah, who’s wearing lipstick these days? Well, I mean, I think a lot of us are. I was chatting with a few gals on Instagram (here’s me, BTW), and it turns out there are a lot of people out there spending a lot of time at home right now (no, really!?), parenting, surviving and hopefully thriving, in, like, full-on bright red lips because they simply miss wearing lipstick. So, before you put your hands on your hips, shake your finger at me and say, “Karen, everybody’s masked up, so lipstick is total and complete nonsense now!” I politely disagree.

We’re still wearing lipstick, y’all. HEAR US ROAR! ?

LOL!

wander beauty wanderess escape palette eye look
A closeup of the eye look

So, back to the eye makeup… Curl your lashes, fill in your brows, and grab the following:

Key eye makeup products

  1. A bronze cream shadow stick
  2. A matte mauve powder shadow
  3. A matte cool brown eyeshadow
  4. A black or blackish brown pencil liner
  5. A shimmery warm champagne shadow

Here’s what you do

  1. Apply and blend the bronze cream shadow all over the part of your lid that moves when you blink (a.k.a. your mobile lid), as well as the crease, diffusing the shadow into a soft gradient as you move up toward your brows.
  2. Layer the matte purplish mauve eyeshadow directly on top of the bronze cream shadow, first using a flat eyeshadow brush. Next, grab a clean tapered or domed blending brush, and soften out the edges. Now, if you want, run the brush along your lower lash line with however much product remains on the brush.
  3. Next, line your lash lines with the black or brownish black pencil. Then, load a pencil brush with the dark cool brown shadow, and soften the liner by running the tip of the brush along the liner’s edge.
  4. Dab a touch of the shimmery warm champagne into the inner corners…
  5. And finish with mascara, false lashes and a shot of tequila (kidding).

If you want, you can also do the following

  1. Optional step 1: Tightline your waterline. Side note — I *always* do this! Makes my lashes look thicker. ?
  2. Optional step 2: Blend some of the cool matte brown eyeshadow in the outer corner for more depth.

Two lip options

I think this works with so many different lip colors because the balance between the warm bronzy shadow base and the cooler mauve and brown tones makes it suitable to wear with neutral, cool and warm lipsticks. I’ve paired it here with a neutral rosy brown lipstick and a warm cranberry red lipstick to give you two options; I also think this look would be great with dark brown, wine or brick shades.

wander beauty wanderess escape palette mac dance with me
The eye makeup with warm cranberry red lipstick
wander beauty wanderess escape palette laura mercier beige intime
Same eyes, but now with a rosy brown lipstick (t-shirt: Mascara & Kitties)

Product links

What I’m wearing

  • Laura Mercier Burnished Bronze cream shadow
  • Wander Beauty Escape Palette (Enchanted, Overnight and Moonlit shades)
  • Chanel Noir Intense Eyeliner
  • Laura Mercier Soleil 1 Bronzer
  • Laura Mercier Rose blush
  • Laura Mercier Beige Intime Lipstick
  • MAC Dance With Me Liquid Lipstick
  • MAC Studio Fix Soft Matte Stick Foundation in NC42
  • Urban Decay Brow Blade in Dark Drapes
  • Lancôme Idole Lash Mascara
  • Estée Lauder Double Wear Instant Fix Concealer in Medium Deep
wander beauty wanderess escape palette laura mercier beige intime mac dance with me
Swatches!

Your friendly neighborhood beauty addict,

Karen

There are 7 comments on this post. Leave yours.

Categories: Lancome, Laura Mercier, MAC Makeup, Makeup Tips/How To, Wander Beauty

3 Steps to a Sheer, Fresh Base (That Looks Effortless)

February 9th, 2021 by Karen 12 Comments

laura mercier beige ultimae pyt no bs palette
Waiting on spring!

It’s always kinda amusing to me when I watch a tutorial for “skin that looks like skin,” or “effortless foundation,” and it involves, like, 12 steps to get there!

I know, I know! It comes with the territory of doing makeup. But still. ?

Admittedly, I’m guilty of over-complicating makeup on occasion (*cough* sorry! *cough*), but sometimes I really do just want easy-peasy-lemon-squeezy, and this three-step process to a sheer, fresh base is exactly that.

The goal here? A low-effort base that looks natural and polished, with a few areas of strategically placed slightly dewy (but not shiny) finish peeking through. Please bear in mind that this type of base will not completely cover everything. Yes, we’re purposefully letting lots of actual skin show.

You’ll need…

Three is the magic number here, starting with how much time you’ll need.

About three minutes.

Also, you’ll need the following…

  1. An opalescent, low-shimmer highlighting lotion, ideally one without any bits of glitter in it
  2. A sheer-to-medium-coverage stick or cream foundation that works for your skin type and tone
  3. A synthetic blending brush

The step-by-step

  1. First, dab a few dots of the pearly lotion all over your face, and blend. I like to include a few dots beneath my eyes to lift and brighten that area. After blending all of your dots, wait about a minute for your pearly lotion set.
  2. Apply the foundation you selected wherever you want the highest coverage. Gently press and blend it in with clean fingers (ideally, your fingers should be warm for this, and not freezing cold like my fingers get sometimes). I typically do my cheeks, underneath my nose, around my mouth, and in the center of my forehead. This should take just about another minute.
  3. Gently diffuse the edges of your foundation with the blending brush, seamlessly blending the foundation into your natural skin. The trick is to not lift off and remove too much product here. That is, you do want some coverage, after all, so use a light touch.
  • Optional: dab some concealer under your eyes, and I’d suggest something sheer because a full-coverage concealer will look disjointed alongside such a sheer base.
  • Additional optional step: set your foundation with a sheer powder (I usually skip this step).

Here’s a closeup of the base! As you can see, there are a few freckles on my nose and a few places where a little pigmentation is peeking through above my upper lip and on my cheeks, which I’m totally cool with. Like I said, this is the type of makeup that isn’t meant to fully conceal everything.

laura mercier beige intime pyt no bs palette closeup
Well, hi there!
Fresh skin, olive lids and rosy beige cheeks and lips
See the freckles on my nose?

What to pair this base with

If you want to keep it casual and underdress this base, you could pair it with a combination of brow gel, mascara and eyeliner, but for a little extra polish, you could dress it up like I did here by pairing it with something like a cool-toned olive and taupe on the lids, a matte rosy blush on the cheeks and a light pinkish brown lipstick.

laura mercier beige intime pyt no bs palette swatches
Swatches of the key eye, cheek and lip products
laura mercier beige intime pyt no bs palette products
Featured products I’m wearing on my eyes, cheeks and lips

Product links

What I’m wearing

  • MAC Strobe Cream in Pinklight
  • MAC Studio Fix Soft Matte Foundation in NC42
  • PYT No BS Palette in Cool
  • Chanel Espresso eyeliner
  • Laura Mercier Rose blush
  • Laura Mercier Beige Intime lipstick
  • Lancome Lash Idole mascara
  • Urban Decay Brow Blade in Dark Drapes
  • MAC Clear brow gel

Additional pearly/low-shimmer highlighting lotion options

  • Similar | BECCA Backlight Primer
  • Similar for less | L’Oréal Studio Secrets Magic Lumi Light Infusing Primer

Additional stick or cream foundation options:

  • Similar cream, in a pan | Kjaer Weis Cream Foundation
  • Similar cream, in a stick | Hourglass Vanish
  • Similar cream stick foundation for less | Maybelline Super Stay Multi-Use Foundation Sticks (you might have better luck with it than I do)
  • Similar cream in a pan for less | Honest Beauty Everything Cream Foundation

Synthetic blending brush options:

  • I used | Real Techniques Expert Face Brush
  • Similar | The Hourglass Foundation/Blush Brush No. 2
  • Similar for less | e.l.f Selfie Foundation Brush

Your friendly neighborhood beauty addict,

Karen

P.S. Happy Tuesday! ?

There are 12 comments on this post. Leave yours.

Categories: Face of the Day (FOTD), Laura Mercier, MAC Makeup, Makeup, Makeup Tips/How To, PYT Beauty

Try This Hack for Bold, Bushy, Bangin’ Brows

February 5th, 2021 by Karen 16 Comments

brow tips top
A hack for bold but natural-looking brows

Do you ever feel like your brows are out to get you? Like they have an agenda? Like they have ulterior motives?

I do. ? Sometimes they absolutely refuse all orders, totally ignoring my requests, whether I come at them with a brow gel and/or an eyebrow brush.

Do you want fuller, (somewhat) natural-looking brows, but don’t want to have to spend an hour on it and use a ton of product?

If you answered “yes,” then this brow hack is for you! ?

I just started doing this and have gotten some good feedback on my brows lately, so of course I have to share this hack with you, because I’m guessing you’re probably as obsessed with brows as I am. 🙂

First, you’ll need a clear brow gel, your favorite brow filler (pen, pencil, powder, whatevs) and — drumroll please — YOUR FINGERS!

Yes, fingers are the key to this party. ✌️ ?

Start by applying the clear brow gel to your naked brows. There are so many good brow gels out there, BTW (see: Benefit, NUDESTIX, Anastasia), but I’m using the one by MAC now because I like the hold. It gets the job done, but it doesn’t make my brows too stiff.

Don’t be shy, either. Pile that ish on!

brow tips 1
Naked brows and bare skin, ’cause that’s how we roll around these parts
brow tips 2
Load up the clear brow gel.

Now, instead of grabbing a brow spoolie or a brush comb and running that through the gel, push your brow hairs into place with your fingers.

Yup, that’s right! Simply press and maneuver the hairs exactly where you want them.

The secret is the power of fingertip pressure. ? I think it just works better than a spoolie or a brow brush.

brow tips 3
Press those hairs!
brow tips 4
Goofy face completely unnecessary but highly encouraged (ya need to be able to laugh at yourself, ya know?)

My strategery is to push the brow hairs in the inner half of my brow upward, and the hairs in the outer tail slightly up and out. I think that makes the brows look full, fluffy and thick.

At this point, you can proceed with the rest of your makeup while the gel sets, and then when it’s dry fill in any sparse spots in your brows with a pencil, pen or powder.

brow tips 5
Fill them in, finish the rest of your makeup, and you’re done!

It’s weird, but when I do this with my fingers, I’m able to get away with using less brow pencil, and I think my brows generally look more natural and less…I dunno…heavy-handed than when I use a brush or another tool?

Please note that most brow gels get stickier after setting for a minute or two, so if you’re there pushing your hairs around, and you feel the gel getting stuck here and stickier, that’s totally normal!

brow tips 6
Off to pre-school pickup!

I hope you give this a try. 🙂

Your friendly neighborhood beauty addict,

Karen

P.S. TGIF!

There are 16 comments on this post. Leave yours.

Categories: MAC Makeup, Makeup, Makeup Tips/How To

Romantic Rose Tones With Brilliant Bronzed Browns

February 3rd, 2021 by Karen 8 Comments

mac chatterbox lmac chatterbox laura mercier roseaura mercier rose
I like this palette of luscious golden browns and dainty, rosy pinks. ?

OK, so, I wore this look yesterday, and doggone it — I felt good about my makeup. The pink blush and lipstick spoke to my soul… You can’t go wrong with springy, romantic rosy pinks. Methinks they’re downright therapeutic. Wearing pink in winter reminds me that we will see the sun again.

mac chatterbox laura mercier rose
Just a little makeup!

I’ve been doing the bare minimum in terms of base for months, but I put a little more polish into this look, and I really like how it turned out.

For starters, I mixed a dab of pearly lotion into a matte, medium-coverage foundation, then applied a thin layer with a skunk brush all over my face. Then, for slightly more coverage, I loaded a tiny, pointy-tipped concealer brush with the most minimal amount of concealer and strategically dabbed it where I have a little extra pigmentation (spots on my cheeks and around my mouth). And those couple extra things took my base makeup to the next level! Dare I say it? — an elegant level. 🙂

mac chatterbox k down havana
Swatches of the key products on NC42 skin

I felt like myself again for the first time in a while.

Yeah…I was wearing lipstick around the house again, LOL! MAC Chatterbox is an awfully pretty, playful reddish pink, and it can be quite bold if you apply a layer straight from the tube. I was in the mood for something more mellow, so I blotted it down, then used my finger to push in whatever lipstick remained to create a beautiful rosy pink stain… I think it’s springy and cheerful, and I love it. MAC Chatterbox, man! Don’t sleep on it.

Speaking of MAC, Powersurge eyeliner with Havana eyeshadow = magic. Layer Havana on top of Powersurge the next time you’re wearing warm browns or bronzes on your lids, and don’t forget to send me a thank you note when you’re done. ?

mac chatterbox laura mercier rose 1
MAC Havana eyeshadow + Powersurge liner = magic!

Makeup in this look

  • Base: It Cosmetics Your Skin But Better Foundation + Skincare in Tan 41, Kevyn Aucoin Concealer in Medium 06, MAC Strobe Cream in Pinklite
  • Eyes:Urban Decay Brow Blade in Dark Drapes, MAC Saddle and Havana eyeshadows, MAC Powersurge pencil liner, Bite Beauty Upswing Mascara, MAC Clear Brow Gel
  • Cheeks and lips: Laura Mercier Soleil 1 Bronzer, Laura Mercier Rose Blush, MAC Chatterbox lipstick

Your friendly neighborhood beauty addict,

Karen

There are 8 comments on this post. Leave yours.

Categories: Bite Beauty, Eyes, Face of the Day (FOTD), It Cosmetics, Kevyn Aucoin, Laura Mercier, Lips, MAC Makeup, Makeup, Makeup Tips/How To

Two-Ingredient Smokey Red-Bronze Eyes | Totally Wearable and NOT Crazy!

December 2nd, 2020 by Karen 11 Comments

mac teddy nub
Every MAC Teddy I’ve ever owned ends up looking like this! (Sweatshirt: Thank You For Being a Friend)

Can I get a whoop-whoop from my friends out there who have worn MAC Teddy down to the nubbiest of nubs?!

I was using this teeny, tiny stub yesterday and couldn’t help but laugh because I have been to this rodeo many times before. I grind and grind that pencil down until, one day, I look and realize, “Oh! I should probably replace it soon because I can barely hang onto it with two fingers.” HA HA HA HA!

MAC Teddy liner is a rockstar for a multitude of reasons (LET ME COUNT THE WAYS), but one standout for me is how well it layers with copper and red eyeshadows. That bronzed brown just werks with copper and red shades.

You can keep it easy-peasy lemon squeeze-y by lining your lash and/or waterlines with Teddy and then sweeping your copper or red shadow on your lids.

mac firewerk the room pan teddy down

Or, optionally, you can do what I affectionately refer to as “sandwiching,” which is when you layer Teddy underneath and on top of a shadow for a smokey eye. I think it’s a surefire way to make even the craziest colors wearable.

The shadow I’m wearing here is MAC Firewerk the Room (from the new holiday collection), and it’s a straight-up red. On its own, it’s borderline bananas, but layered with Teddy it magically transforms the look into a wearable daytime smokey eye.

mac firewerk the room teddy forward

Start by buffing a layer of Teddy on your lids with a finger before sweeping a little Firewerk the Room (or any other red shimmery shadow) directly on top. Then buff with your favorite eyeshadow brush to feather out the edges.

Finish by lining your lash and waterlines with MOAR TEDDY, and don’t forget your mascara!

mac teddy firewerk the room swatches

mac firewerk the room smile forward
Blanche, Dorothy, Rose or Sophia?

Makeup worn in this look

  • BASE: MAC Studio Fix Fluid in NC42 mixed with MAC Strobe Cream in Pinklite, Estee Lauder 24HR Concealer in Medium Deep
  • CHEEKS: Hourglasss Radiant Bronze Light bronzer and Diffused Heat blush
  • LIPS: MAC Subculture Lipliner with Nuxe Lip Balm
  • EYES: Urban Decay Brow Beater in Neutral Brown, MAC Clear Brow Set, Laura Mercier Caviar Mascara, MAC Firewerk the Room eyeshadow, MAC Teddy liner
  • CLOTHING: Here’s my sweatshirt!

Your friendly neighborhood beauty addict,

Karen

There are 11 comments on this post. Leave yours.

Categories: Face of the Day (FOTD), MAC Makeup, Makeup Tips/How To

  • « Go to Previous Page
  • Go to page 1
  • Go to page 2
  • Go to page 3
  • Go to page 4
  • Go to page 5
  • Go to page 6
  • Interim pages omitted …
  • Go to page 93
  • Go to Next Page »

Primary Sidebar

Welcome to Makeup and Beauty Blog

Welcome to Makeup and Beauty Blog! My name is Karen, and I’m a freelance writer obsessed with makeup.

Makeup and Beauty Blog features daily product reviews, makeup tips and beauty news — like an interactive version of a monthly print magazine, except with occasional pictures of my cat.

Recent Posts

Sundays With Tabs the Cat, Makeup and Beauty Blog Mascot, Vol. 878

Makeup and Beauty Blog Monday Poll, Vol. 894

Makeup and Beauty Blog Monday Poll, Vol. 893

Makeup and Beauty Blog Monday Poll, Vol. 892

Makeup and Beauty Blog Monday Poll, Vol. 891

/* real people should not fill this in and expect good things – do not remove this or risk form bot signups */

Social

  • Facebook
  • Instagram
  • Pinterest
  • Twitter
  • YouTube

Featured Posts

Sundays With Tabs the Cat, Makeup and Beauty Blog Mascot, Vol. 771

Lady Unicorn

Weird Things I Like to Do

brows fill out beforehand

Before You Pluck or Wax Your Brows, You Must Do This

current bare skin status

What’s One Thing That Drastically Changed Your Skin for the Better?

Copyright © 2025 Makeup and Beauty Blog. Get in touch.