• Skip to main content
  • Skip to primary sidebar

Makeup and Beauty Blog | Makeup Reviews, Swatches and How-To MakeupMakeup and Beauty Blog | Makeup Reviews, Swatches and How-To Makeup

A beauty blog blooming with fresh makeup reviews, swatches and beauty tips from your friendly neighborhood beauty addict

  • Home
  • About
    • About
    • Contact
    • FAQ (Frequently Asked Questions)
    • Advertising & Media
  • Categories
    • Product Reviews
    • Makeup
    • Skincare & Fragrance
    • Style & Fashion
    • Hair
    • Nails
    • Tips & Tutorials
    • Just for Fun
  • Brands
  • Store

Comment to Win a $50 eGift Card From MAC! (Ends Monday)

September 19th, 2015 by Karen 386 Comments

** THE GIVEAWAY IS CLOSED **

This giveaway is closed, and the winner has been contacted (CONGRATULATIONS, MICHELLE!!!), but check back next Saturday for another giveaway.

mac-giveaway-09-19-15

I’m kind of on the fence about my latest TV obsession, the new Beverly Hills 90210, except that it’s not new at all, because it’s from 2008.

Netflix, ya know? I watch so many things I never would have found, but I started watching it, and I’m wondering, are any of the actors actually in their teens?? I mean, it takes place at West Beverly High School. Couldn’t they have hired an actual teenager for at least one of the parts?

But I digress…

How’s it going, my friend? What are you up to this weekend? I’m absolutely not excited about it, but I have to do some housecleaning. 🙁 Since El Hub thinks he spotted a mouse in the kitchen the other day, I am officially freaked out. I’m also extremely disappointed in Tabs for failing in his duties as the company’s lead mouser. I’m starting to wonder if he fibbed on his resume.

Right now, though, I’m on my way to another one of those Sephora classes. This one’s called Perfectly Paired Lips and Cheeks.

These classes are great, BTW! You should totally look into them. They’re fun, and because they’re early in the morning, they help me get an early start on the day. Four stars and two thumbs up!

I hope you’re doing something fun today. Talk to you soon, and good luck in the giveaway.

Prize

  • One (1) MAC eGift card containing $50 sent to the winner by email (international readers, you may opt to receive $50 sent by PayPal instead).


$50 MAC eGIFT CARD

Rules

  • Enter by leaving a comment below.
  • Open to U.S. and international readers.
  • You must be 18 or older to enter (or otherwise an adult based on your local laws).
  • Your comment can be about anything at all, but here are some ideas if you’re stuck:
    • Something you’re always very careful about?
    • A saying that drives you crazy?
    • I know this is TMI but…
    • Something you’ve gotten very good at lately?
    • Finish the sentence, “With my makeup I never…”
    • My significant other has [ADJECTIVE] [NOUN].
  • One entry per person.
  • You must use a valid email address to win.
  • The giveaway ends on Monday, September 21, 2015 at 11:59 PM (Pacific Time). 🙂

Your friendly neighborhood beauty addict,

Karen

There are 386 comments on this post. Leave yours.

Categories: Giveaways, Just For Fun

Current Nail Polish Situation: MAC Blog This and Simply Swinging

September 19th, 2015 by Karen 10 Comments


mac macnificent me simply swinging 890

mac macnificent me simply swinging

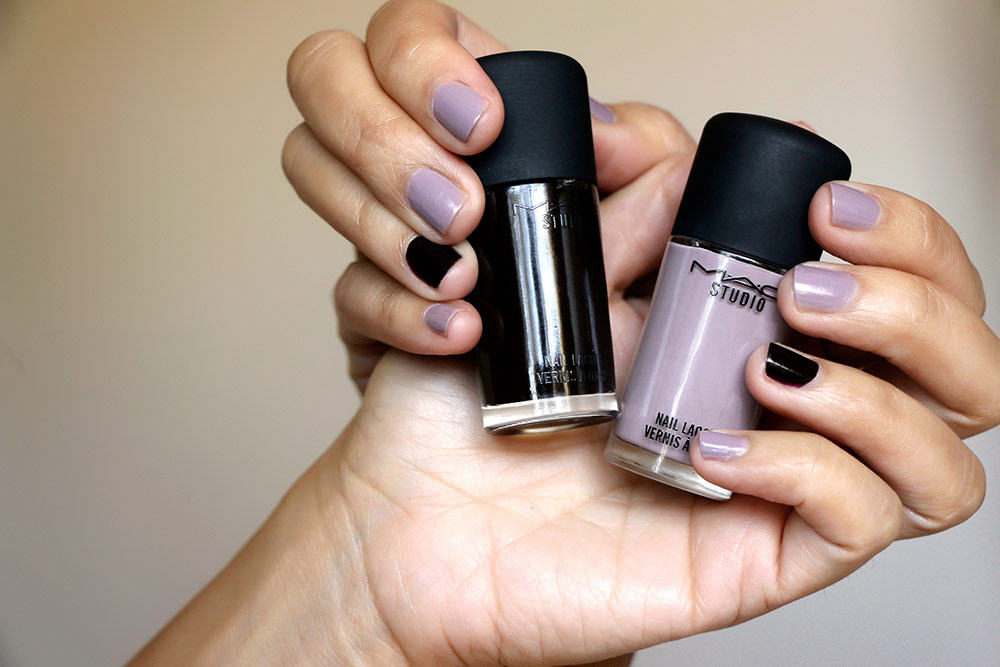
It’s gonna be a purple paw weekend! I’m wearing two of the polishes from the new MAC MACnificent Me! collection, which arrives online September 21 on the MAC website and at stores and counters October 1 through November 12.

mac macnificent me blog this simply swinging

The lighter purple is called Simply Swinging, and the darker one is Blog This! — a name that I totally love. 🙂 I’m wearing two layers of each.

mac macnificent me simply swinging blog this

With MAC nail polishes, I find that I really need to wear them with a base and top coat; otherwise, they’re chip city within a day.

I used Sally Hansen’s Green Tea Bamboo as the base coat with OPI’s Top Coat on top, and so far, so good! I’ve only had the mani two days, but I haven’t seen a chip yet.

Oh! — if you’re wondering, the bag is by Sonia Kashuk.

What’s your mani situation heading into this weekend? Are you sporting freshly painted paws today? Lacquer-loving minds want to know. 🙂

Your friendly neighborhood beauty addict,

Karen
There are 10 comments on this post. Leave yours.

Categories: Daily Photo

MAC MACnificent Me! Collection | Video Review, Pics and Swatches

September 18th, 2015 by Karen 16 Comments

mac macnificent me eye shadow x 9
MAC MACnificent Me: Eye Shadow X 9 ($40)

So, what would be MACnificent right now? How about a vanilla milkshake and some fries!? But that just might be me doin’ my #pregnantladythings. The upside of the new MAC MACnificent Me! collection is that everything is calorie-free!

What makes you MACnificent? Is it your impeccable style, your sense of humor or your ability to wear crazy colors on your lids and lips and make them look completely legit?

Whatever it is, I think you’ll be able to find something of interest in the new MAC MACnificent Me! fall 2015 collection. 🙂

mac macnificent me eye shadow X 9 2
MAC MACnificent Me: Eye Shadow X 9 ($40)
mac macnificent me eye shadow
MAC MACnificent Me Eye Shadow in Cheer Me On, Well Behaved and Everyone’s Darling ($16 each)
Eye Eyeshadow in Cork ($16)

This collection has a neat twist. The six models for the campaign, whose identities haven’t been announced yet (as of Sept. 18, 2015), were chosen from among the zillions of MAC fans who submitted their picture and bios and answered the question, “What makes you MACnificent?”

The collection drops on the MAC website September 21, and then arrives a little later on MAC counters and stores October 1 through November 12.

And it’s a huge one! — 42 pieces, with a number of traditionally fall-ish items like dark berry and plum lip colors.

Here’s a glimpse…

mac macnificent me paint pots
MAC MACnificent Me Paint Pots from the left: Stroke My Ego, Imaginary and Nice Composure ($22 each)

[Continue reading…]

There are 16 comments on this post. Leave yours.

Categories: Collections, MAC Makeup, Video

How to Do Perfect Red Lips

September 18th, 2015 by Karen 24 Comments

perfect red lips

Some things are really hard — climbing Mount Everest, saying no to the last French fry, learning how to breakdance when you’re over 30 and completely inflexible (particularly in the hamstrings) — but other things, like achieving a perfect red lip, aren’t that hard at all.

Smooth, symmetrical red lips with crisp, yet not harsh, edges are easy with the right tools, a few tips and a little practice. By the end of this post, you will NOT look like a demented clown about to go on a rampage at a children’s birthday party (although this happens sometimes when I try to do lip liner on bare lips). Pretty soon you’ll be doing ’em like a seasoned pro.

So, let’s start at the very beginning, which is a very good place to start. 🙂

Um…I think I may or may not have just quoted Sound of Music, but whatever!

1. Apply lipstick to the center area of your lips

lipstick

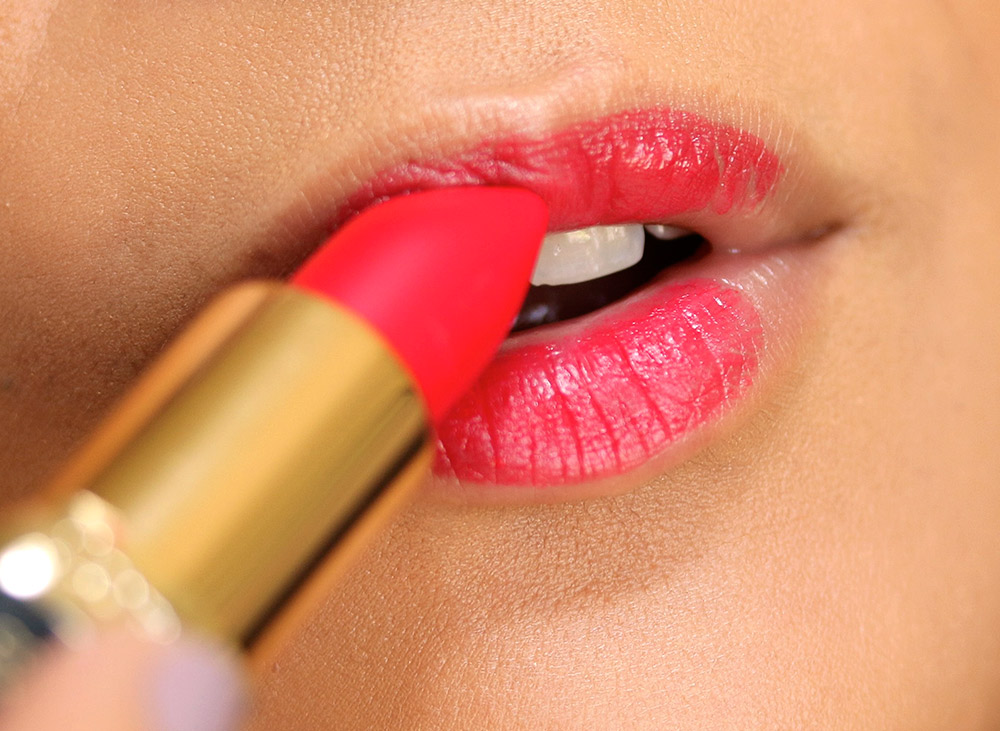
Begin by applying (directly from the bullet) the red lipstick you’d like to wear around the center area of your lips. The key here: don’t take the lipstick all the way out to the edges.

lipstick 2

At this point, as is the case so often with makeup, if you’re doing it right, it’ll look kinda weird…

2. Now drag the lipstick out to your natural lip line

lip brush

Using a lip brush loaded with the same red lipstick, fill in the edges around the area you applied from the bullet a moment ago, dragging some of the existing lipstick out while also painting all the way to the edge of your lip line. We’re doing this because the brush is more detailed than the lipstick bullet.

lip brush 2

Try to get that lip line smooth and even, but it doesn’t have to be perfect at this point.

3. Line your lips with a lip liner in a complementary color

red lip liner

Now set aside the lip brush, and grab a sharpened red lip liner (sharpen it first, because we want the point to be nice and sharp) in a color that complements your lipstick.

Take that lip liner, and start drawing a line right around the edge of your lip, following your natural lip line, and we have two reasons for this. First, we’re creating a boundary for our red lipstick outside of which we won’t go, and second, we’re also using this as an opportunity to tweak the shape of our lips, if need be, to make them look perfectly symmetrical. Like, one side of my lips is thinner than the other, so I slightly overdraw that side at this step to make my lips look even and full.

Next, with the same lip brush you used earlier, although this time without any extra product on it, gently merge the line you created with your lip pencil into the lipstick to soften the appearance of the lip liner.
[Continue reading…]

There are 24 comments on this post. Leave yours.

Categories: Lips, Loreal, MAC Makeup, Makeup Tips/How To

Fri-Yay Makeup Fun: Glossy Lids and Winged Liner

September 18th, 2015 by Karen 19 Comments

glossy-lids-winged-liner

Winged liner.

Sometimes I wanna wear it with eyeshadow; sometimes I wanna wear it with eye gloss.

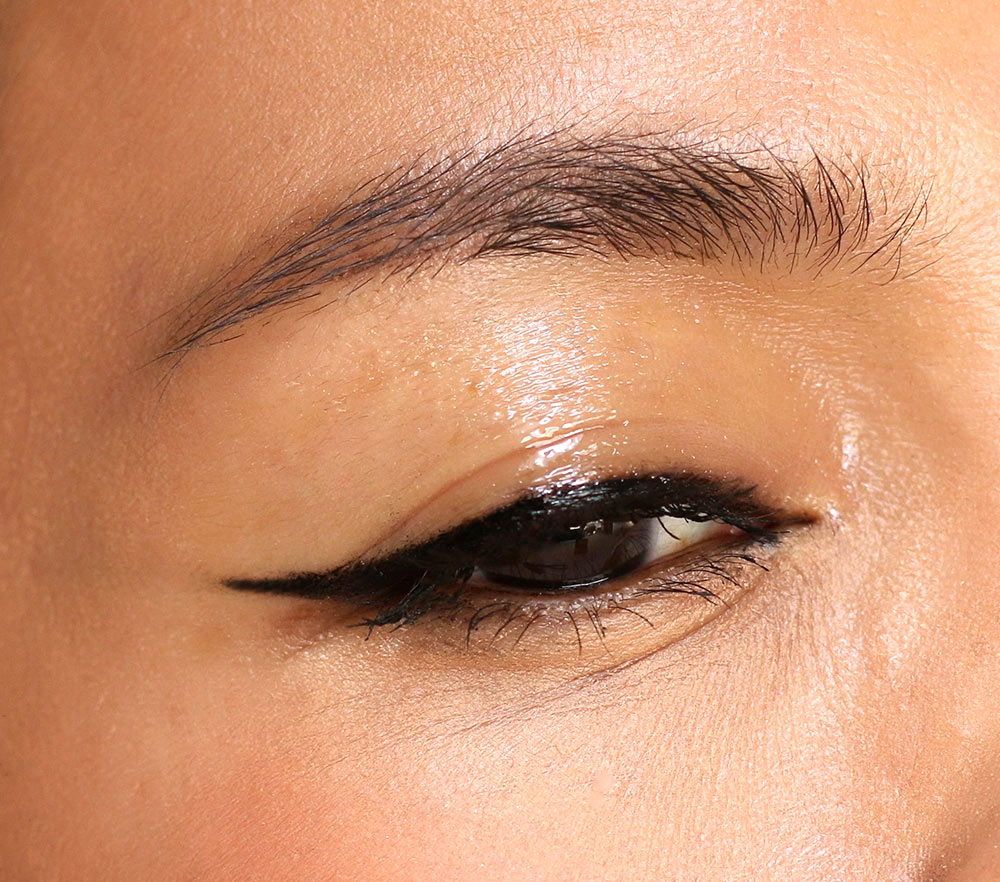
Yeah, that’s right! Eye gloss — the super shiny stuff, which isn’t known for being eminently wearable, not with that glistening, glossy finish that gleams and beams, but I think it can look super cool when paired with something unexpected like winged liner.

gloss lids top

In this look, I love the contrast between the glossy, wet-looking lids and the crisp black liner. It’s like I just got back from charging the waves! Surfer girl meets sassy secretary. 🙂

gloss lids final

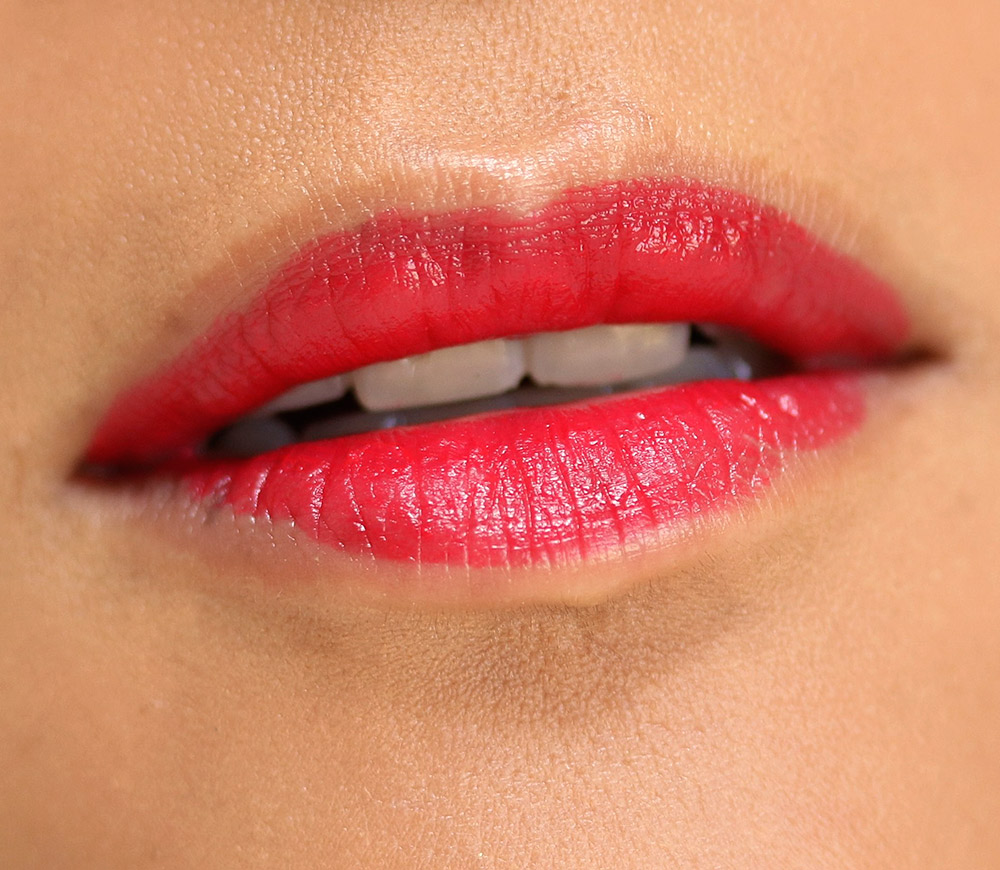
Make the red lip a matte, and you’ve got an unusual, interesting twist on a classic black winged liner-red lip combo.

glossy lids closeup

The best part of this look is that it’s easy to do, which for me makes it perfect for Fridays when my mind is on other things (like pumpkin spice lattes).

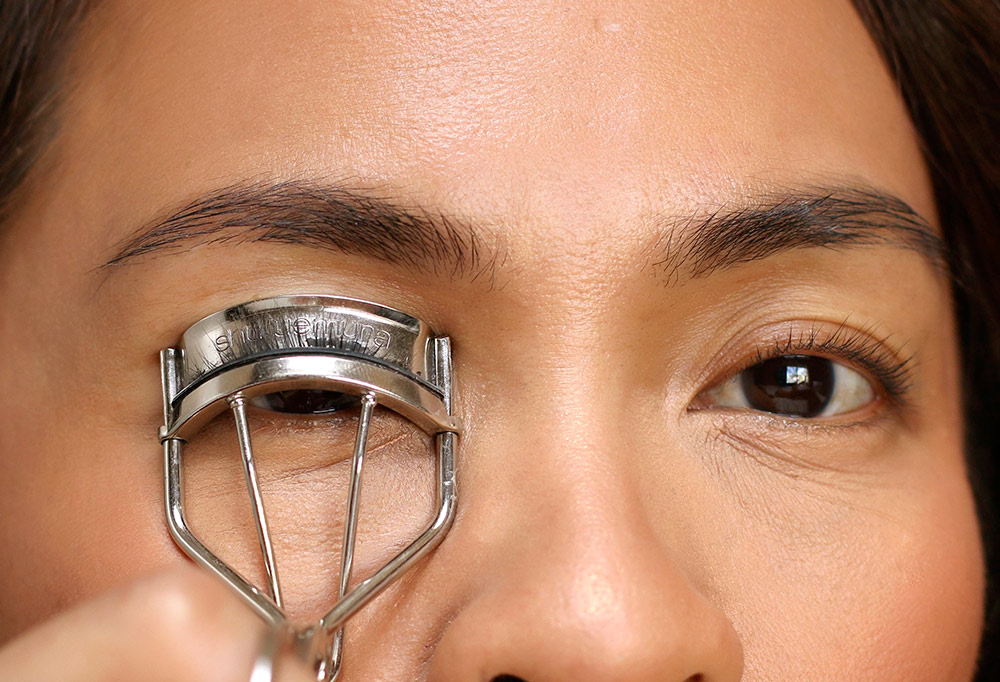
Starting with bare lids, just curl your lashes if you need to (mine are pin straight, so this is a must). Then draw your winged liner, and tight-line your upper water line.

Wait for the liner to dry, and then apply and pat a clear eye gloss on your lids from lash line to brow bone (I don’t go too far into the inner corner with the gloss; otherwise, it starts to look heavy and a little weird).

Finish by loading up your lashes with mascara.

curl lashes

winged liner
[Continue reading…]

There are 19 comments on this post. Leave yours.

Categories: Chanel, Makeup Tips/How To, Rouge Bunny Rouge, Tom Ford Beauty

FYH (For Your Hair): Side Part or Center Part?

September 18th, 2015 by Karen 39 Comments

k-hair-june-2015-2

For me, side part all the way. I’ve always had one, even back when I was a kid.

The evidence…

Just call me the Karate Kid
Back when my hair looked like Ralph Macchio’s from The Karate Kid

Try for a second to not be distracted by the terrible hair or the short-shorts (what can I say? It was the ’80s), and focus on the hair part. It’s slightly off center. We’ll call this the early beginnings of a side part.

And years later, during my hair bear phase (again, I have no excuse, other than the fact that it was the ’80s), the side part cemented its reign by dominating my bangs…

braces-and-big-hair-small

This was my eighth-grade school picture. From what I can recall, I was very disappointed with my hair that day because the bangs were not nearly high enough.

Please note the braces and full, lush, untouched brows.

What I wouldn’t give to have those brows back…

But this post isn’t about brows! It’s about parts — and I want to know about yours: do you have a side part or center? 🙂

Your friendly neighborhood beauty addict,

Karen

There are 39 comments on this post. Leave yours.

Categories: Just For Fun

I’m Lovin’ the Rad Reds in the L’oreal Colour Riche Exclusive Red Lipcolor Collection

September 17th, 2015 by Karen 20 Comments

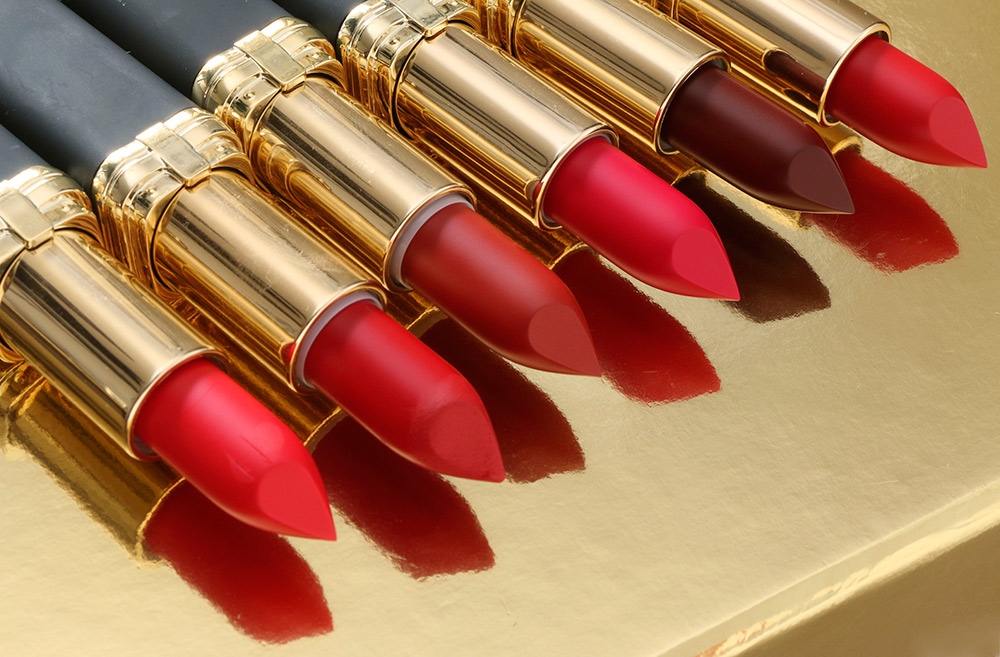
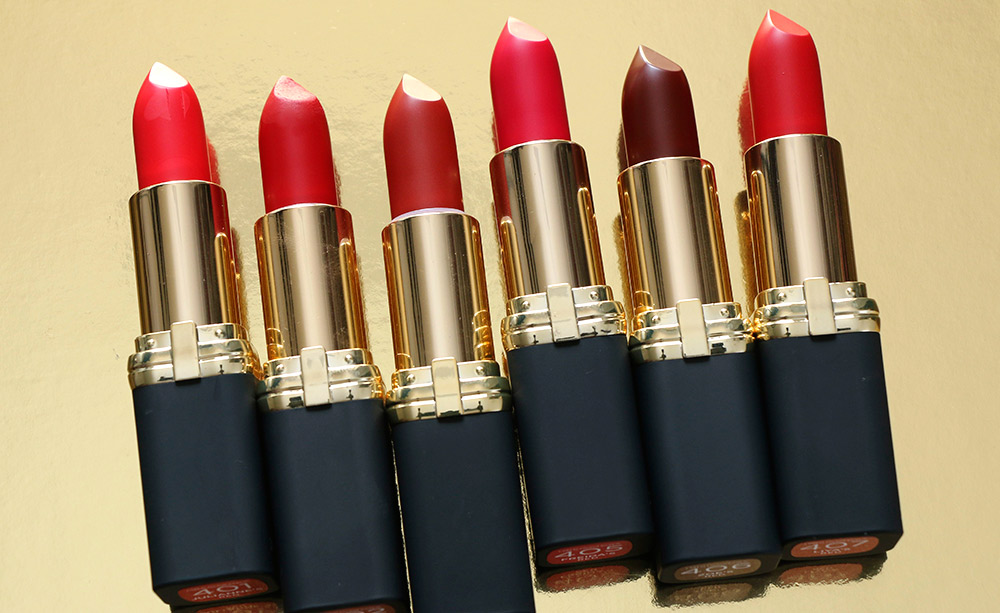
L'Oreal Colour Riche Collection Exclusive Red Lipcolor from the left: 401 Julianne's Red, 402 Blake's Red, 403 Eva's Red, 405 Freida's Red, 406 Zoe's Red and 407 Liya's Red
L’Oreal Colour Riche Collection Exclusive Red Lipcolor from the left: 401 Julianne’s Red, 402 Blake’s Red, 403 Eva’s Red, 405 Freida’s Red, 406 Zoe’s Red and 407 Liya’s Red

These six reds are rad!

It’s hard to pick a favorite from among the six $8.99 red lipsticks in the new L’Oreal Colour Riche Collection Exclusive Red Lipcolor line, but if you said, “Karen, you have to pick one!” first I would say, “Curses! Why you gotta be so cruel?” then I’d say 402 Blake’s Red, which you may remember from the 5 Fabulously Affordable Fall Lipstick post earlier this week. It’s neutral, so I could wear it with warm and cool looks (and I bet it would look great on most skin tones).

From the left: 401 Julianne's Red, 402 Blake's Red, 403 Eva's Red, 405 Freida's Red, 406 Zoe's Red and 407 Liya's Red
From the left: 401 Julianne’s Red, 402 Blake’s Red, 403 Eva’s Red, 405 Freida’s Red, 406 Zoe’s Red and 407 Liya’s Red

From the left: 401 Julianne's Red, 402 Blake's Red, 403 Eva's Red, 405 Freida's Red, 406 Zoe's Red and 407 Liya's Red
From the left: 401 Julianne’s Red, 402 Blake’s Red, 403 Eva’s Red, 405 Freida’s Red, 406 Zoe’s Red and 407 Liya’s Red

[Continue reading…]

There are 20 comments on this post. Leave yours.

Categories: Drugstore Beauty Finds, Lips, Loreal, Makeup

MAC Studio Waterweight Foundation Followup: MAC Studio Waterweight Versus MAC Face and Body

September 17th, 2015 by Karen 16 Comments

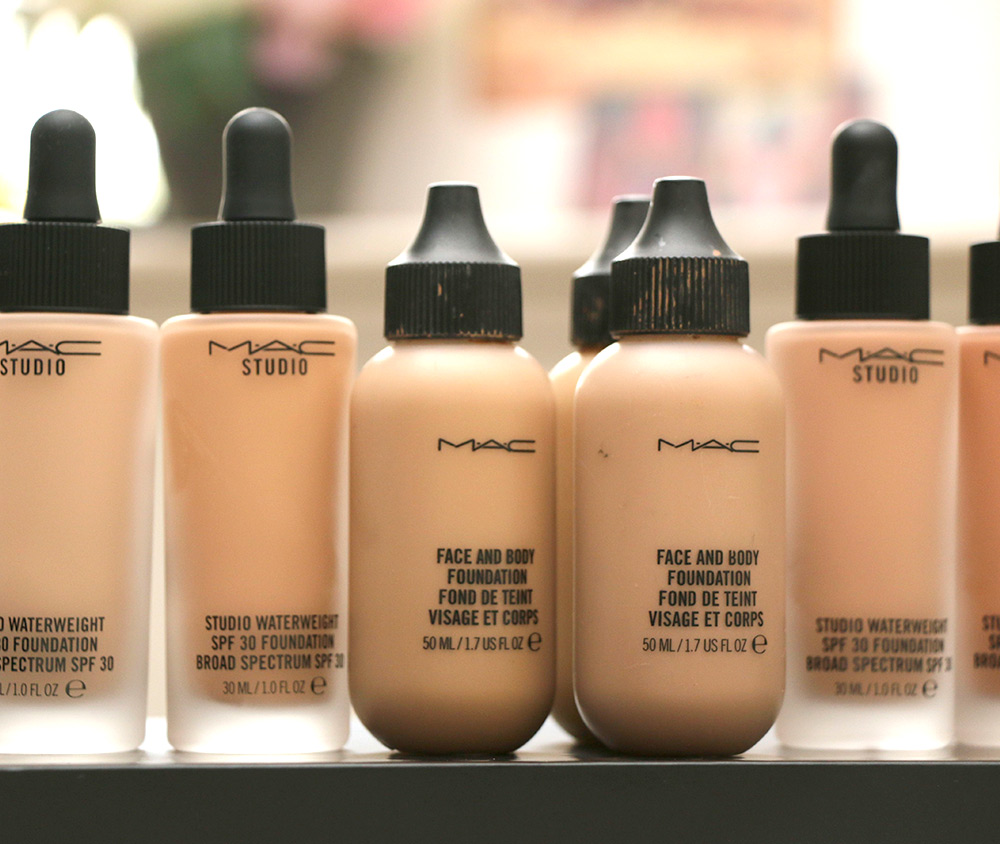
mac studio waterweight face and body

Today I’m putting on Waterweight!

Wait — that didn’t come out right… I mean, let’s put on our bathing suits, and take a dip back into the water with MAC Studio Waterweight foundation.

Hmm… That wasn’t much better, was it?

Anyway! Since my review a couple days ago, I’ve gotten some questions here on MBB and on YouTube about how the new MAC Studio Waterweight Foundation compares to MAC Face and Body, so I’m gonna try to answer those questions in this quick followup now.

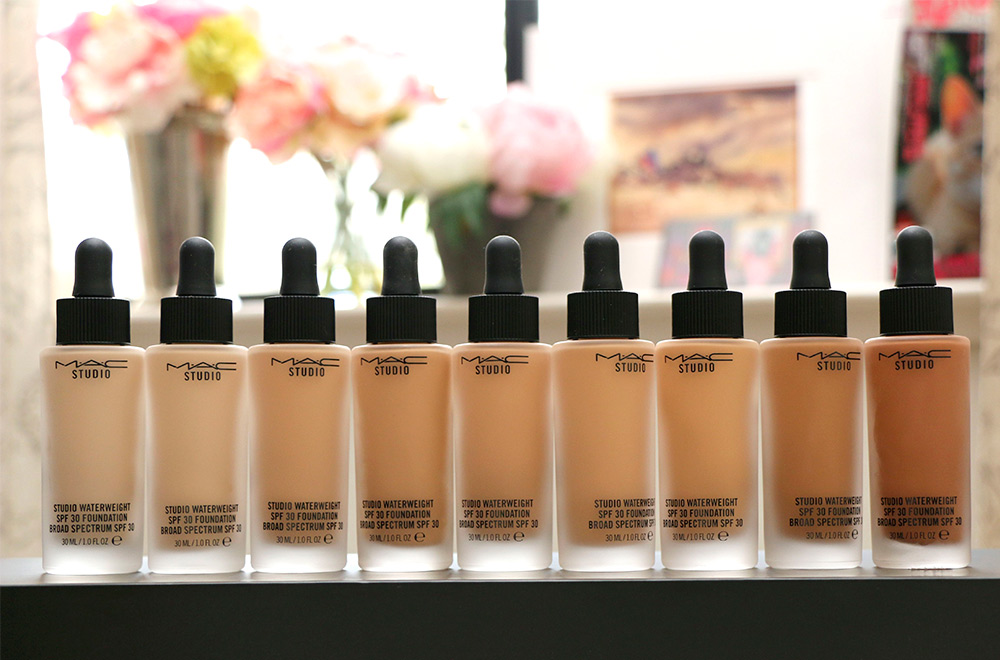
Down below are also swatches of 21 of the 25 Waterweight shades (not shown are NC 25, NW 50, N12 and N18).

In a nutshell, Studio Waterweight is MAC’s foray into the world of serum foundation — medium coverage, with a lightweight, moisturizing formula and a velvety finish. My combination skin and I have been wearing it daily for the past week, and we’re really happy with it so far!

mac studio waterweight nc shades
10 of the 11 MAC Studio Waterweight NC shades from the left: NC15, NC20, NC30, NC35, NC37, NC40, NC42, NC45 and NC50
mac studio waterweight nw shades
11 of the 14 MAC Studio Waterweight NW shades from the left: NW13, NW15, NW18, NW20, NW22, NW25, NW30, NW35, NW43, NW45, NW47, NW50, N12 and N18

One of the main things MAC Studio Waterweight and Face and Body have in common is texture. They both have a similarly thin, watery texture, but I think the similarities really end there. They differ in terms of finish, their ability to blur pores, their coverage and their durability.

Finish

I’ve used Face and Body for years, and one thing I’ve always liked about it is how fresh and clean my skin looks after I put it on. When I work it in (I like to use a kabuki brush with a buffing motion), it becomes one with the skin and imperceptible, and once it settles down, it has a dewy finish — not shiny — that’s very distinct and beautiful.

Waterweight also becomes one with my skin, but I think the finish looks quite different. It’s much less dewy than Face and Body’s finish — more velvety — and while it still reflects a little light, it’s less obvious than Face and Body.

Pore blurring

Serum foundations usually also excel at blurring pores and softening the overall appearance of the skin, and that’s another way in which MAC Face and Body and Studio Waterweight differ.

Face and Body? Hardly any pore blurring.

Like none.

But Studio Waterweight blurs and blurs and blurs…

Coverage

With Face and Body, it’s easy to build up the coverage. If you have the wherewithal, you can build it all the way from super sheer to just shy of full.. I used to do exactly that for pics all the time, but good golly, Miss Molly! — it took forever and A LOT of layers.

Studio Waterweight’s coverage isn’t as easy to build. Solid medium coverage is as far as I can get, and that’s with two or three layers. But I still think Studio Waterweight is easier to work with than Face and Body, and it definitely requires less effort to buff and blend. All I do is pat it on the skin with fingers or a BeautyBlender.
[Continue reading…]

There are 16 comments on this post. Leave yours.

Categories: Face, MAC Makeup

  • « Go to Previous Page
  • Go to page 1
  • Interim pages omitted …
  • Go to page 560
  • Go to page 561
  • Go to page 562
  • Go to page 563
  • Go to page 564
  • Interim pages omitted …
  • Go to page 1912
  • Go to Next Page »

Primary Sidebar

Welcome to Makeup and Beauty Blog

Welcome to Makeup and Beauty Blog! My name is Karen, and I’m a freelance writer obsessed with makeup.

Makeup and Beauty Blog features daily product reviews, makeup tips and beauty news — like an interactive version of a monthly print magazine, except with occasional pictures of my cat.

Recent Posts

Sundays With Tabs the Cat, Makeup and Beauty Blog Mascot, Vol. 878

Makeup and Beauty Blog Monday Poll, Vol. 894

Makeup and Beauty Blog Monday Poll, Vol. 893

Makeup and Beauty Blog Monday Poll, Vol. 892

Makeup and Beauty Blog Monday Poll, Vol. 891

/* real people should not fill this in and expect good things – do not remove this or risk form bot signups */

Social

  • Facebook
  • Instagram
  • Pinterest
  • Twitter
  • YouTube

Featured Posts

Sundays With Tabs the Cat, Makeup and Beauty Blog Mascot, Vol. 771

Lady Unicorn

Weird Things I Like to Do

brows fill out beforehand

Before You Pluck or Wax Your Brows, You Must Do This

current bare skin status

What’s One Thing That Drastically Changed Your Skin for the Better?

Copyright © 2025 Makeup and Beauty Blog. Get in touch.