• Skip to main content
  • Skip to primary sidebar

Makeup and Beauty Blog | Makeup Reviews, Swatches and How-To MakeupMakeup and Beauty Blog | Makeup Reviews, Swatches and How-To Makeup

A beauty blog blooming with fresh makeup reviews, swatches and beauty tips from your friendly neighborhood beauty addict

  • Home
  • About
    • About
    • Contact
    • FAQ (Frequently Asked Questions)
    • Advertising & Media
  • Categories
    • Product Reviews
    • Makeup
    • Skincare & Fragrance
    • Style & Fashion
    • Hair
    • Nails
    • Tips & Tutorials
    • Just for Fun
  • Brands
  • Store

Makeup Tips/How To

Try This Tip When You Want to Look Like You Aren’t Wearing Any Foundation or Concealer (But You Still Want to Wear One or Both)

January 20th, 2017 by Karen 10 Comments

Oh, hi, freckles!

Good morning, my friend. How are you doing? I hope you’re hanging in there…

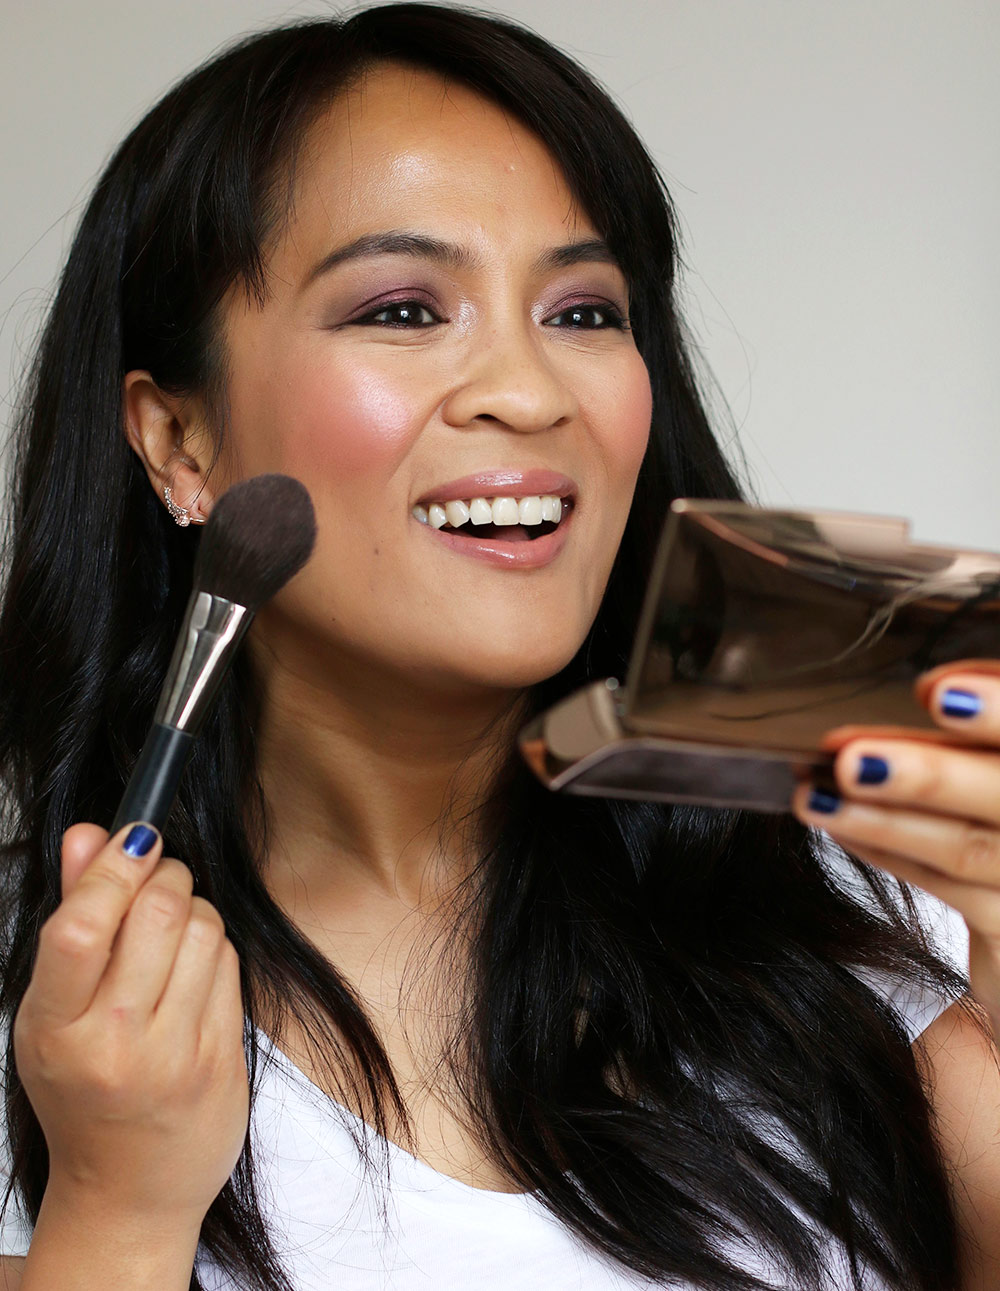
So, you know me pretty well, and I think that you know that my whole makeup agenda in life is to do my skin — my foundation, concealer, powder, etc. — and have it look like I’m not wearing any makeup at all, otherwise known as “no-makeup makeup.”

One trick I use is to use very little product (and in some cases, no products) on strategic areas of my face, namely on the bridge of my nose and my upper cheeks.

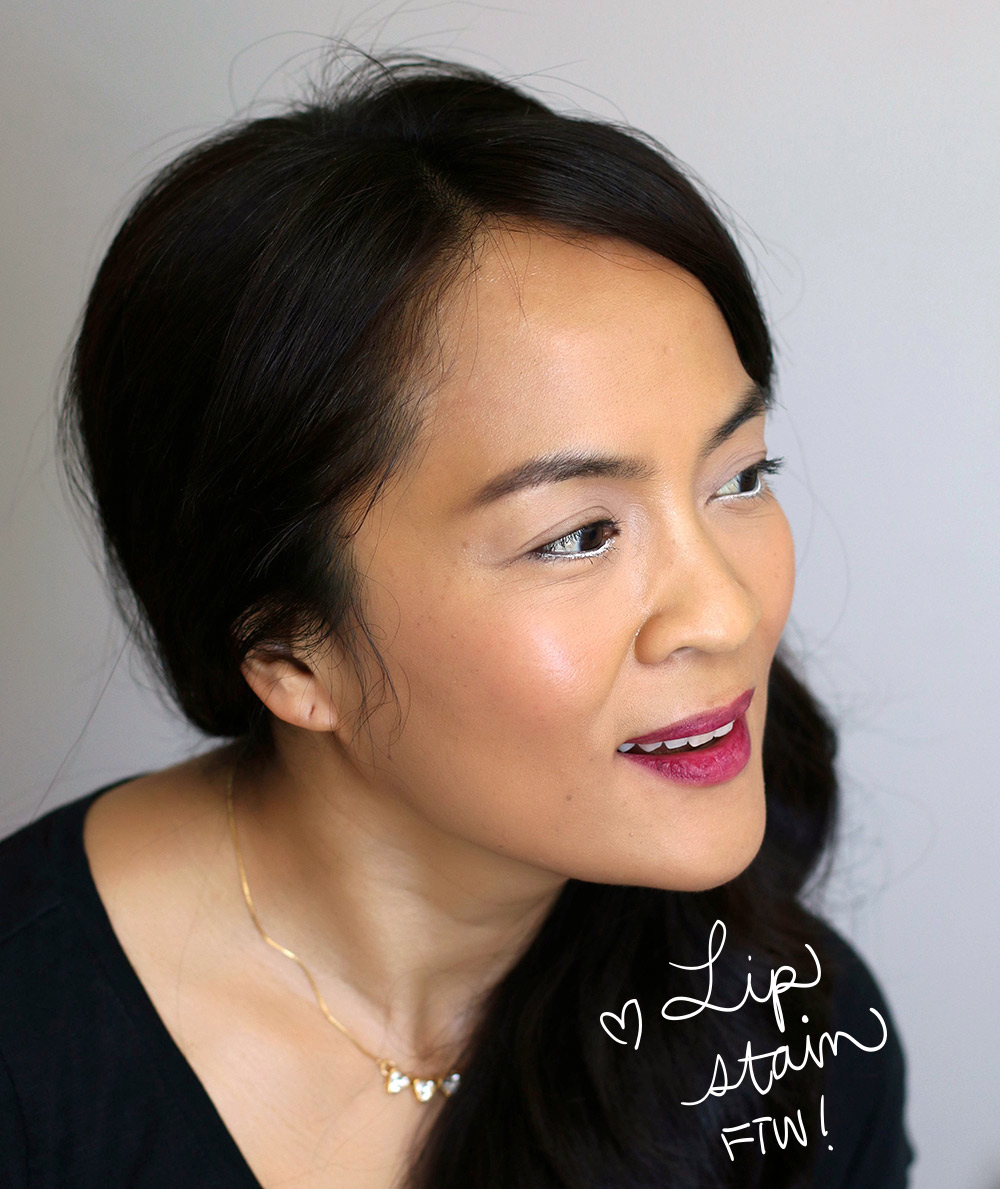
I have some freckles there and a small beauty mark next to my mouth, and I feel that freckles and beauty marks tend to make us look more youthful, so I try not to cover all of mine. Also, skin isn’t naturally perfect. Most people do have some freckles and pigmentation and textured areas somewhere, and when you allow some of those “imperfect” (air quotes) areas to peek through, your coverage looks more natural.

Try this

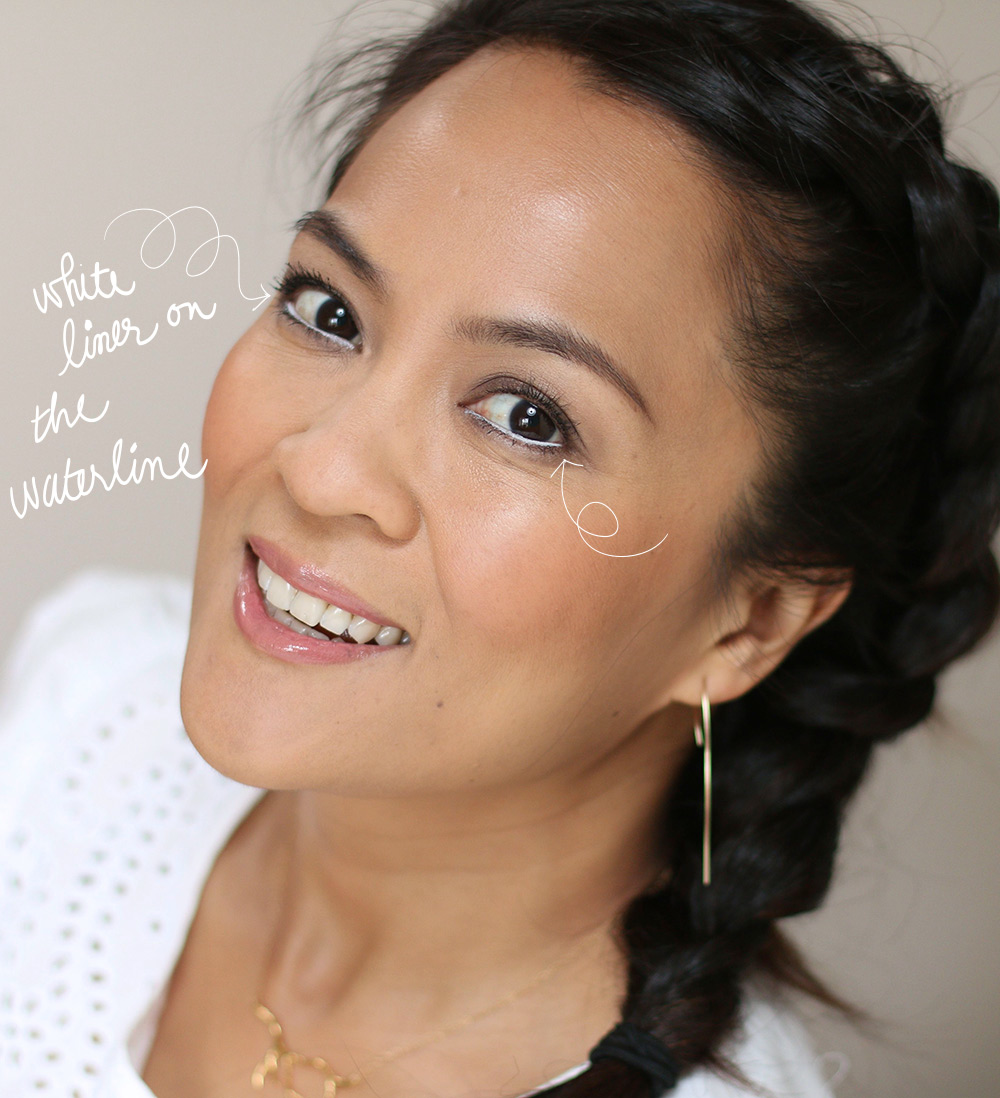
Apply your foundation and concealer strategically. Use the least amount of product possible on your strategic areas. Sometimes I leave mine completely foundation- and concealer-free (and, if that’s the case, sometimes I’ll just use primer and maybe a little powder on those areas).

Then, blend the crap out of those edges!

Now, if you’re going to do this, it really, really helps to pay close attention to your blending; otherwise, it can look like you just forgot to put foundation or concealer on those areas. So it really helps to use something like a wet beautyblender on the edges to seamlessly blend them into your skin.

[Continue reading…]

There are 10 comments on this post. Leave yours.

Categories: Makeup Tips/How To

This Simple Makeup Swap Will Make Your Eyes Look Younger

January 10th, 2017 by Karen 11 Comments

Let’s talk about liner today…

Let me start this by saying that I love black eyeliner.

I love ? it. It’s one of my favorite things in the whole wide world, buuut as I get older, I feel like when I wear a deep, dark, righteously rich black liner, it can make me look older.

It depends, though, on how much and where I apply it. Like, I do feel that black liner is ideal for certain types of makeup looks (like smoky rock-and-roll eyes), but it can look too harsh and stark for my liking in everyday natural looks.

That’s why I’ve been swapping out the black liner for something off-black or brown these days, like with a charcoal shade, a grayish black, a brownish black or something similar. You can get almost the exact same effect, whether you’re tightlining or emphasizing your lash lines or elongating your top lash line with liner to make your eyes look longer, but the overall effect is softer, subtler and more forgiving.

I kinda stumbled on this one day by accident. I ran out of my usual steez, Chanel 88 Noir Intense, so I grabbed a dark charcoal gray shade instead, Chanel 914 Feuilles (a Stylo Yeux Waterproof Liner), which has a little bit of shimmer.

When I saw myself wearing it in pics, I loved it! I think it looks softer isn’t aging.

Of course, in makeup land, there are no hard and fast rules. I still use black liner sometimes, like in smoky looks, or just when I’m feeling rock ‘n’ roll, but I’ve been using an off-black liner more and more often.

Give it a try one of these days if you feel so inclined. 🙂

Oh, and here are a couple of wonderful brown liners that also work well for this: MAC Teddy and MAC Costa Riche.

A workout texting buddy

So, it’s a new year, and I wanna get in shape, yadda yadda yadda. I’m trying very hard to stay with — what I’m not calling resolutions! I’m calling them my short-term health and fitness goals. 🙂 And I’m trying to stick with them through at least March 1.

One thing that really helps is having a workout buddy, even if that workout buddy is someone who doesn’t work out with you…like if they’re just someone you text.

My friend Naaman and I both want to get in shape, so after we work out, or if we have plans to work out, we text each other quick encouraging notes. Like, today I texted him a picture I took at the gym, and he told me that he was going to do 50 push-ups.

It’s fun and also makes me feel more accountable to tell someone that I’m supposed to do those sit-ups or track my food or whatever. I don’t know why, but it weirdly increases the chances of me actually doing it.

Accountability through the power of texts. Go figure.

Your friendly neighborhood beauty addict,

Karen

There are 11 comments on this post. Leave yours.

Categories: Makeup Tips/How To

The Easiest Way to Remove Long-Wearing Matte Liquid Lipstick

January 6th, 2017 by Karen 10 Comments

too faced melted matte liquid lipsticks
Putting them on is fun! Taking them off is another story. These are the Too Faced Melted Matte Liquid Lipsticks, by the way, which came out last fall.

My friend Marisol recently told me about this time when she was getting ready to go out, and she had just put on a super intense matte red liquid lipstick, but she didn’t realize until after she put it on that it didn’t really work with her eye makeup.

So she needed to take it off.

But it had already dried! — so it took her forever and a day of frantically rubbing at her lips with tissues to take that lipstick off, because, as you know, with matte liquid lipsticks, you practically need a chisel and Thor’s hammer to remove them.

After she told me this story, I was like, “Ya know, it doesn’t have to be that hard!” Basically, if you have an eye makeup remover that works for waterproof eye makeup (or long-wearing eye makeup), soak a Q-tip with it, and run that across your lips (obviously, don’t take shots of the stuff; it’s not for swallowing), it’ll remove that matte liquid lipstick (or any long-wearing lipstick) in a snap.

I do this all the time when I’m doing lip swatches of liquid lipsticks. It’s a quick way to remove them.

The waterproof eye makeup remover I’m using now is the one by Klorane. It’s their Waterproof Eye Make-Up Remover with Soothing Cornflower, and it’s great. It’s $16 and comes in a blue bottle. I mostly use it for my eyes, obviously, and it takes off everything. It isn’t irritating either.

Plus, it also removes long-wearing lip products in a snappy-snap-snap. 🙂

Your friendly neighborhood beauty addict,

Karen

There are 10 comments on this post. Leave yours.

Categories: Makeup Tips/How To

No More Crazy Clown Cheeks! Two Secrets to Get Your Blush to Look as Natural as Possible

January 5th, 2017 by Karen 34 Comments

hourglass euphoric fushion
Blush, babe!

Why is natural-looking blush so hard to do?

In the grand scheme of makeup application, it’s not like eyeshadow, where sometimes you’re blending four or five colors on your lids. Blush is usually just one shade on a relatively large area. It’s not as precise as placing color in the upper crease, so why is it so freakin’ hard to make blush look natural?

This gave me a hard time for years and still does from time to time, but here are two tips that really help. When I learned these, it was like the clouds had parted, and I heard angels singing, AHHHHH! More importantly, I wasn’t rollin’ around town anymore with two tiny circles on my cheeks (WHICH, OMG, I’VE TOTALLY DONE!).

Anyway, here are two things I do when I’m going for the most natural-looking blush.

Reduce any redness, and prep your canvas first

This one is really helpful for the most natural-looking blush. As opposed to just applying blush over bare skin, always start by evening out your skin tone as much as possible by concealing any areas of redness at all (like from pimples) on and around your cheeks, because you want your base as close to flawless as you can possibly get it before you apply your blush on top.

If you put something pigmented like a blush on top of an area that already has color — like on top of a red pimple — your blush will emphasize the area even more, so prep your canvas first. Apply your foundation and/or concealer wherever you need it, and then apply your blush. That way it’ll look like a natural sweep of color going across your cheeks.

Apply your face powder before your blush

The next tip is to apply your powder blush (if a powder blush is your particular blush poison, and it happens to be mine) on top of your face powder, instead of the other way around. So, if you’re starting with primer, you’d apply your foundation and concealer next, then your face powder, and then your blush.

Because products like to latch on to creams, and foundations are creamy products, if you apply a powder blush directly on top of your foundation, any areas that have more product on them will grab more of your blush, leaving with you some uneven patches of more intense blush color on your cheeks.

Instead, if you apply your face powder on top of your foundation, your foundation will grab the face powder first (instead of your blush).

One benefit is that because your face powder color is probably similar to your foundation color, it won’t appear uneven. Another benefit is that the face powder gives your powder blush a base layer with a similar texture (a powder), like a cushion, and generally it’s easier to blend similar textures together, like creams with creams, and powders with powders.

That layer of face powder acts as a cushion for your blush and makes it much easier to scoot those blush grains along and blend them out. The result is more natural-looking blush. 🙂

All about that leggings life

[Continue reading…]

There are 34 comments on this post. Leave yours.

Categories: Makeup Tips/How To

This Under-Eye Concealer Hack Is a Gamechanger

January 3rd, 2017 by Karen 27 Comments

concealer applied after
Super minimalist makeup with NARS Soft Matte Concealer applied underneath my eyes and set with NARS Translucent Crystal Powder

I’m gonna propose something kinda crazy here regarding under-eye concealer, but if you bear with me, I think it could be worth your while. It’s something I’ve been doing pretty regularly for the past few weeks and, frankly, it’s rocking my world.

OK, here it is: instead of applying your concealer right after your foundation, do it after you do everything else — after your foundation, your eye makeup, your blush, your lips, bronzer if you wear it, etc. — all of that stuff.

Then, as the very last step in your makeup process, do your under-eye concealer.

Why have I been doing it this way?

Because I’m always looking for ways to get my makeup to look as natural as possible, and that can be a challenge in the under-eye area, you know? — especially if you have some fine lines in that area, and/or you follow a multi-step process involving color correcting and setting your color corrector with powder.

I have lines there, and the more makeup I wear underneath my eyes, the heavier it looks and, but when I wait and do my concealer as the last step, I find myself using less concealer — correction: using just the exactly right amount — because I’m able to use the rest of my look as a reference point.

I talk about using reference points a lot because they really help me use the least amount of product I need for a particular effect.

concealer sephora future gel serum
A more dramatic look! Here I’m wearing Sephora Bright Future Gel Serum Concealer in Eclair set with MAC Mineralize Skinfinish Powder

[Continue reading…]

There are 27 comments on this post. Leave yours.

Categories: Makeup Tips/How To

Breathe New Life Into That Decidedly Dark Lipstick by Turning It Into a Stain

December 29th, 2016 by Karen 4 Comments

sephora the mini team
Turn your lipstick into a lip stain

Hey! So, let’s talk about lips.

I think every girl and makeup-loving guy has done it at least once — fell in love with a lipstick from afar, or maybe at the counter, but for whatever cruel, unknown reasons, when they got it on for the first time, it just looked…darker than it did on the website or in the store.

I’ve done it so many times! Sometimes it’s a wine shade; sometimes it’s a burgundy or a plum. And I’ll see it at the counter and think, “Suh-weet! You’re comin’ home with mama.”

Then I’ll get home, try it on and be like, “Hmm…”

For those times when a dark lipstick looks more wearable in the store than it does on your lips I.R.L., but you still don’t want to part with it forever, try turning it into a lip stain.

I repeat, you do not have stick it in the back of your lipstick drawer, ignore it, and have it be a sore spot for you every time you see it sitting there collecting dust.

All you have to do is apply it the way you normally would — either straight from the tube or with a brush — and for applying darker lipsticks, I think it always helps to have a lip brush around, especially for drawing clean outer edges, but it doesn’t matter in this case because we’re going to be turning what’s on our lips into a stain.

Next, after you’ve applied your layer of this unfortunately dark lipstick, blot most of it away with a tissue.

Now, even out whatever remains on your lips with a finger, leaving a beautiful stain behind that still has an echo of the color you fell in love with at the counter. 🙂 But it won’t be as dark.

sephora the mini team swatch
The Mini Team: Rouge Cream & Shine Lipstick Set by Sephora

One of the reasons I love lip stains is because they don’t need as much babying as dark, opaque lips do. Basically, you’re taking a high-maintenance dark plum, dark burgundy, dark wine or whatever, and making it easier to wear. Plus, in its stain form, you won’t have to worry about it migrating beyond your natural lip lines, since you’ve removed most of it.

In the pic at the top, I’m wearing a plum shade from The $22 Mini Team: Rouge Cream & Shine Lipstick Set by Sephora as a stain.

Now go forth and have fun with those dark lip colors! Sometimes it’s just easier to wear them as a stain.

Your friendly neighborhood beauty addict,

Karen

There are 4 comments on this post. Leave yours.

Categories: Makeup Tips/How To

Two Reasons to Try Wearing White Eyeliner Along Your Waterline

December 28th, 2016 by Karen 13 Comments

white eyeliner waterline
You’ve gotta try white eyeliner on your waterlines, babe!

When I started wearing white eyeliner along my waterline a few years ago, every single time I’d do it I’d sing that song from Aladdin…

“A whole new worrrrrrrrrld!”

Every. Single. Time.

Because it felt that way!

It was one of those little makeup things that rocked my world, and here are a couple reasons why:

1. Your eyes will look BIGGER and brighter

Making my eyes look as big and bright as possible are among my makeup modus operandi, and wearing white liner along the waterline helps. From a few feet away, the liner looks a little like an extension of the sclera (the whites of the eyes), which makes your eyes look bigger.

Also, if you happen to have a very red or dark waterline (I do when I’m sleep deprived), the white liner hides the red, potentially disguising your exhaustion…

2. Your black liner will look sharper and more precise

When you pair white liner along your waterline with black cat liner, the contrast makes your black liner look sharper, crisper and more precise.

*BONUS* A few product recs

white eyeliner swatches
Swatches of Estée edit Iced, MAC Fascinating and Make Up For Ever M-16

Lots of brands have white eyeliners. Some are more opaque than others, creamier and longer wearing, but the one I love the most is The Edgiest Kohl Shadowsticks in Iced by The Estée Edit ($22). I think it’s the best all-around white pencil out there because it’s creamy, comfy, opaque and fairly long lasting.

I also like MAC Fascinating Eye Kohl ($17), which is also very opaque, creamy and comfortable, but it doesn’t last as long for me as Iced.

If wear time is the main thing you want, the longest lasting one I’ve ever found is Make Up For Ever Aqua XL in M-16 (which I found via the splurge-worthy $250 Artistic Pencil holiday collection).

makeup for ever artistic pencil collection
The oh-so splurge-worthy Make Up For Ever Artistic Pencil Collection ($250 for 20 full-size liners, available on the MUFE website and at Make Up For Ever Boutiques)

M-16 takes a few layers to reach full opacity, but it lasts all freaking day. It’s a touch drier than Iced and Fascinating (unsurprising considering that it’s a long-wearing waterproof pencil), but I don’t find it uncomfortable.

Urban Decay also makes one called Yeyo ($20), but eh…it’s not one of my favorites. I have to wear too many layers to even see it, and it doesn’t last long at all on my waterlines.

*BONUS #2* A tip

When you wear white liner on your waterline, line your waterline with your white pencil before following up with mascara on your lower lashes (assuming you’re wearing mascara at all), because if you start by applying a coat of mascara first and followup with your white waterline liner after, you run the risk of getting white liner on the roots of your lashes and mixed in with your mascara.

It’s a tiny detail, but if you’re a stickler for tiny details, it’s something to think about.

Your friendly neighborhood beauty addict,

Karen

There are 13 comments on this post. Leave yours.

Categories: Makeup Tips/How To

For the Smoothest Eyeshadow Transitions, Use an Eyeshadow With a Satin Finish, Instead of a Shimmery or a Matte Finish, in Your Crease

December 23rd, 2016 by Karen 9 Comments

crease-colors

If you’re going for a super-blended eyeshadow look that seamlessly transitions from your lid shade to your crease shade, use a crease color (a transition shade) with a satiny finish, instead of a full-on shiny, shimmery finish or a matte.

Mattes are popular as crease transition colors because they don’t reflect as much light as shimmery shadows do, so you can use them to make your crease appear deeper set, and make whatever you’re wearing on your lid *POP* more.

But matte eyeshadows are also usually harder to blend than shimmers, which have glittery sparkle particles that help to scoot the pigment around.

If you’re trying to blend a matte crease color into a shimmery lid color, it can take A LOT of extra swiping and little circles to create seamless transitions between them.

By using an eyeshadow with a satin finish and (just the faintest hint of shine) as your crease shade instead, you can still use it to make your crease appear deeper, but it should also be easier to blend than a straight-up matte.

My favorite foolproof crease/transition shades are MAC Soba, which is a medium golden brown with a satin finish, and MAC Texture, a warm peachy brown. Both are in the permanent line and look like they could pass for mattes at first, but they aren’t completely flat.

Basically, they’re awesome. 😉

Bomb-@ss zucchini bread

Behold! Magic zucchini bread!

You guys! Excuse the bare face (it ain’t nothing you haven’t seen before), but I was too excited about this food situation in my hands to pause to put on makeup.

[Continue reading…]

There are 9 comments on this post. Leave yours.

Categories: Makeup Tips/How To

  • « Go to Previous Page
  • Go to page 1
  • Interim pages omitted …
  • Go to page 18
  • Go to page 19
  • Go to page 20
  • Go to page 21
  • Go to page 22
  • Interim pages omitted …
  • Go to page 93
  • Go to Next Page »

Primary Sidebar

Welcome to Makeup and Beauty Blog

Welcome to Makeup and Beauty Blog! My name is Karen, and I’m a freelance writer obsessed with makeup.

Makeup and Beauty Blog features daily product reviews, makeup tips and beauty news — like an interactive version of a monthly print magazine, except with occasional pictures of my cat.

Recent Posts

Sundays With Tabs the Cat, Makeup and Beauty Blog Mascot, Vol. 878

Makeup and Beauty Blog Monday Poll, Vol. 894

Makeup and Beauty Blog Monday Poll, Vol. 893

Makeup and Beauty Blog Monday Poll, Vol. 892

Makeup and Beauty Blog Monday Poll, Vol. 891

/* real people should not fill this in and expect good things – do not remove this or risk form bot signups */

Social

  • Facebook
  • Instagram
  • Pinterest
  • Twitter
  • YouTube

Featured Posts

Sundays With Tabs the Cat, Makeup and Beauty Blog Mascot, Vol. 771

Lady Unicorn

Weird Things I Like to Do

brows fill out beforehand

Before You Pluck or Wax Your Brows, You Must Do This

current bare skin status

What’s One Thing That Drastically Changed Your Skin for the Better?

Copyright © 2025 Makeup and Beauty Blog. Get in touch.