• Skip to main content
  • Skip to primary sidebar

Makeup and Beauty Blog | Makeup Reviews, Swatches and How-To MakeupMakeup and Beauty Blog | Makeup Reviews, Swatches and How-To Makeup

A beauty blog blooming with fresh makeup reviews, swatches and beauty tips from your friendly neighborhood beauty addict

  • Home
  • About
    • About
    • Contact
    • FAQ (Frequently Asked Questions)
    • Advertising & Media
  • Categories
    • Product Reviews
    • Makeup
    • Skincare & Fragrance
    • Style & Fashion
    • Hair
    • Nails
    • Tips & Tutorials
    • Just for Fun
  • Brands
  • Store

Makeup Tips/How To

How I Prep for an At-Home Manicure…and ConnorClaire.com Clue #1

August 22nd, 2016 by Karen 32 Comments

Wearing Sally Hansen Miracle Gel Nail Polish in Lemon Heaven; iPhone case from connorclaire.com
Wearing Sally Hansen Miracle Gel Nail Polish in Lemon Heaven (and there’s a clue in this pic about connorclaire.com…)

So you know that super secret squirrel project I’ve been talking about and working on and hinting at for a while?

Well, this is the first official clue! — and it may or may not have something to do with pineapples…

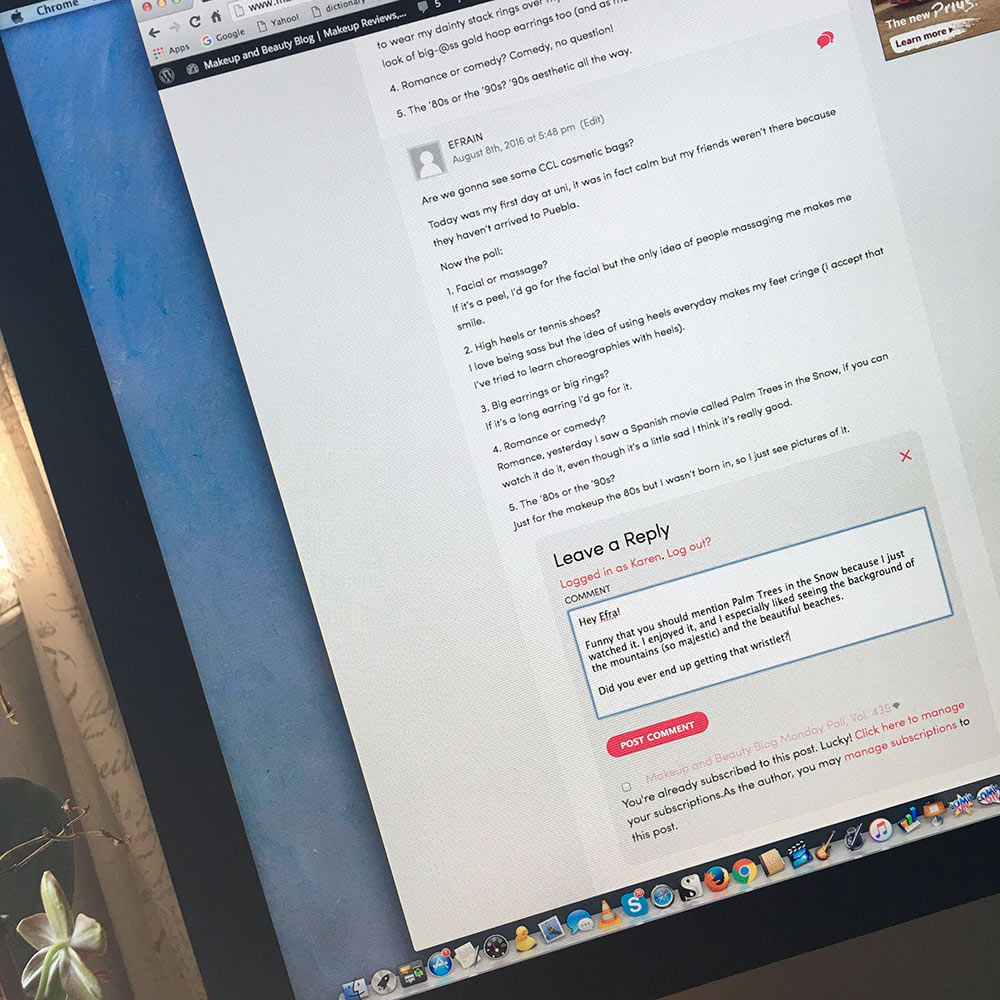
Stay tuned this week for more hints and clues. I’ve been working very hard on this project for months, and I really think you’ll like it. It all takes place at www.connorclaire.com, where you can sign up, and I hope you do.

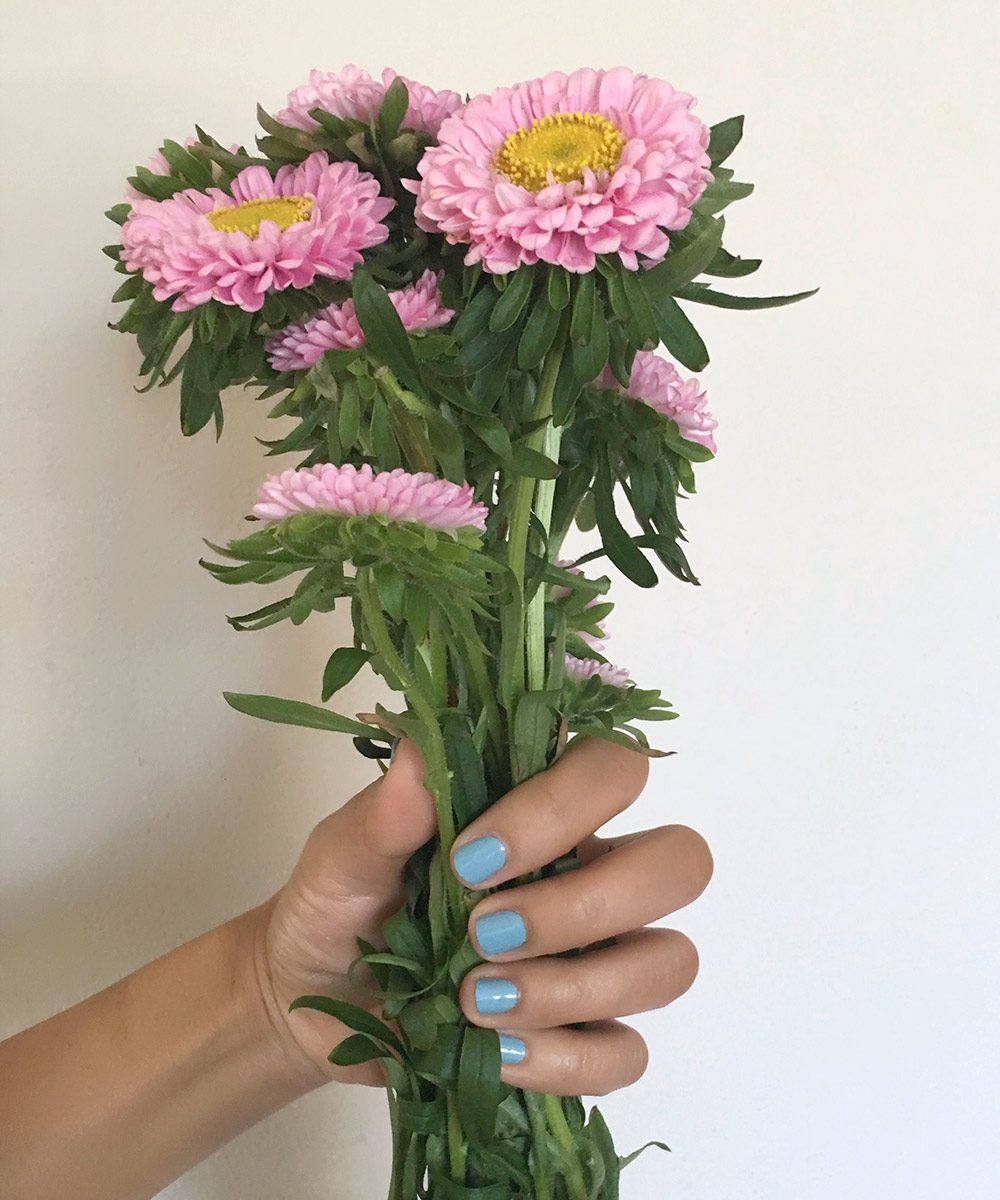
Now, let’s talk nails. 🙂

How I Prep for an At-Home Manicure

Hell, yeah, I do my own nails at home, although I do like to make it rain on occasion at the nail salon, because I don’t like to deal with my toes.

You don’t want to deal with my toes; I don’t want to deal with my toes; so sometimes I will go to a nail salon to have somebody else deal with my toes.

But seriously, nails. Come on, do them at home! It’s fun and easy, and here’s my nail-prep-at-home process. This is how I get my paws ready to paint.

1. Shower

I start by taking a shower (or soaking my nails), which moisturizes everything and loosens things up, including whatever nail polish I might be wearing.

It makes my nails soft and supple and less likely to split when I clip/file them.

nail soak

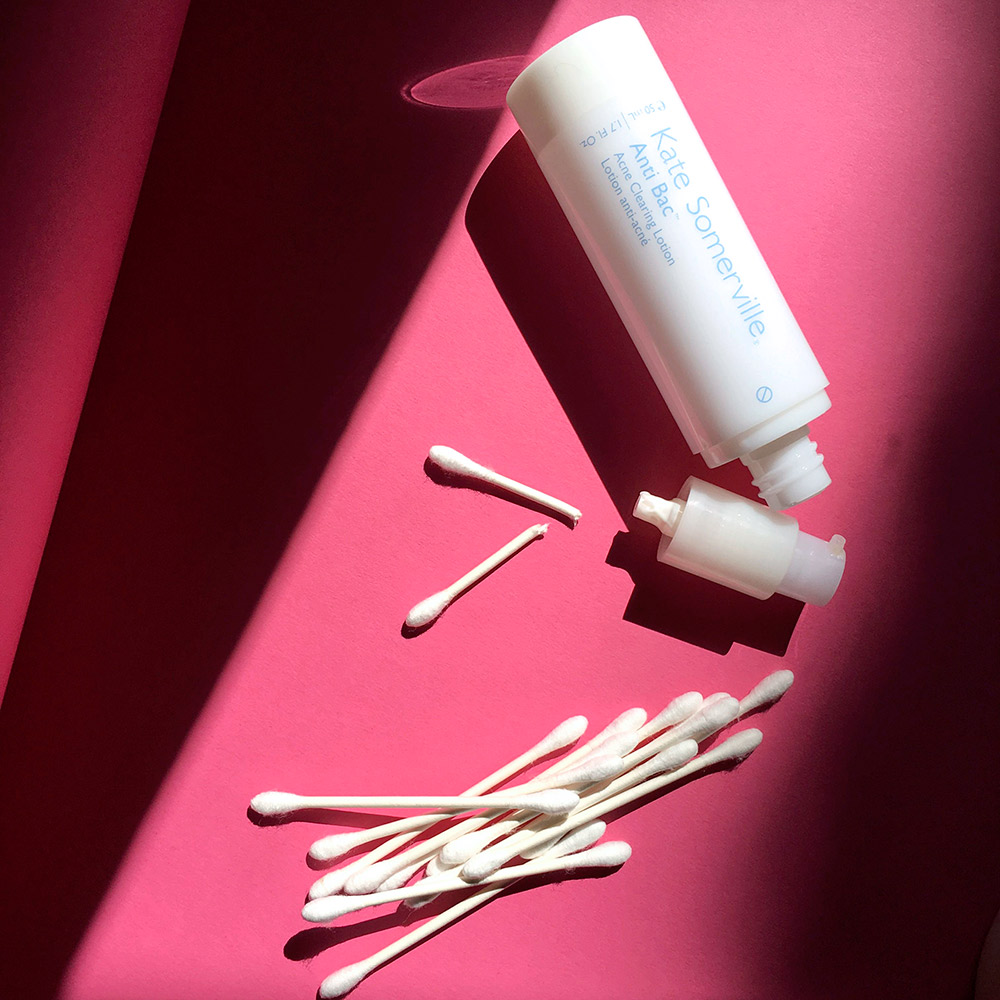
2. Remove any existing nail polish

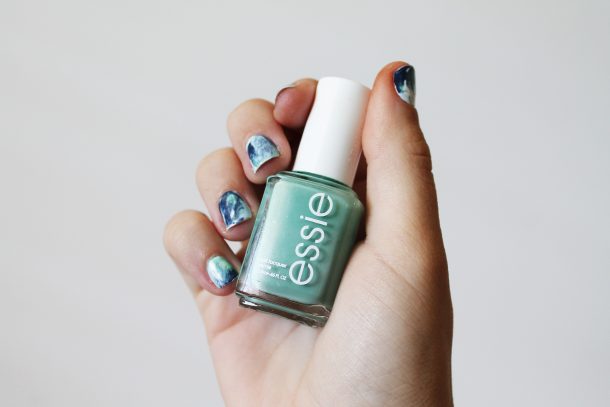
Right after my shower I remove my old polish using Essie Naturally Clean Purifying Polish Remover ($6 for a 4-oz. bottle), which I love because it werks (even with glitters), and it doesn’t dry out my nails or smell bad (kind of important).

I thoroughly soak a makeup remover pad, then press and hold it on the nail for about 30 seconds before pushing and pulling it down, and the nail polish slides right off.

nails-removal

3. Use nail clippers

Next I clip my nails with these Tweezerman Clippers ($11 for two in a set) because they cut cleanly and never split my nails.

nails tweezerman clippers

[Continue reading…]

There are 32 comments on this post. Leave yours.

Categories: Connor Claire Store, Makeup Tips/How To, Nails

A Beauty Improv Tip to Eek Out the Last Few Drops From Your Favorite Skin Care Bottles

August 12th, 2016 by Karen 11 Comments

kate-somerville-anti-bac

If you must know, yes, I knew it was coming. The moment was weeks in the making.

Still, there I was, once again, standing half-dressed in the middle of my bathroom and desperately pressing the pump on my now empty bottle of Kate Somerville Anti Bac Clearing Lotion. Surprise!

I thought for sure there’d be one more pump left in there…

Does that ever happen to you?

It happens to me all the time, especially with skin care that I love and use over and over again, like Kate’s Anti Bac Lotion (I LOVE that stuff; it completely changed my skin!). I can’t stand throwing away the empty bottles because I think there’s always a chance I’ll be able to coax out at least one more precious drop if I ever absolutely need to.

What I usually end up doing is what I did this morning, also know as “beauty improv.” I grabbed a Q-tip, broke it in half, then unscrewed the Kate Somerville bottle and, using the side of one of the Q-tip halves (one of the broken ends without the cotton), I scooped out a good enough-sized dollop of lotion from the inside of the cap and the mouth of the bottle.

Whenever I do this, I can usually squeeze out at least two or three last uses from a bottle that I might have otherwise thrown away.

You know how it is. Gotta get every last drop. 🙂

Happy Friday!!!

Ah, the sweet relief, babe… Happy Friday! I’m sorry I’ve been MIA this week, but it’s that secret squirrel project I keep talking about… It’s taking a lot of my time, but it’s gonna be great. I’ll have something official to announce about it in less than a week. I think you’re going to love it.

I hope you did something fun this week. Even though I spent most of the week running around like a cray-cray kitty, I did manage to watch some of the Olympics and, um…can I just say how amazing Olympic athletes are to me? All of the years of hard work, discipline and dedication coming down to a single moment…

Simone Biles is my everything right meow. The grace, the athleticism, and that glitter liner she rocked along her lower lash line during the Women’s All-Around? I swear it looked like Urban Decay’s Heavy Metal Glitter Liner in Midnight Cowboy… LOVE it!

Your friendly neighborhood beauty addict,

Karen

There are 11 comments on this post. Leave yours.

Categories: Makeup Tips/How To

Paint Your Paws at Your Keyboard: Multitasking Manis Are a Thing

August 9th, 2016 by Karen 26 Comments

essie-first-view-holding-flowers

I had to paint my paws this morning for the secret squirrel project I’m working on, but I didn’t have time to do a full-on mani with the works — soaking, filing, pushing back my cuticles with an orange stick, etc., you know the drill — so I did everything right at my keyboard.

Yeah, that’s totally a thing.

In my world, LOL!

If you’re always in front of your computer like I am, painting your nails at your keyboard takes multitasking to the next level, and it’s a real option, especially if you use a quick drying polish.

essie-first-view

I like these Essie Gel Couture Polishes, which I know I’ve already mentioned, but I like ’em that much. I’m wearing First View today, which is a baby blue with a hint of pearl).

Technically, the formula isn’t called “quick drying,” but it is. Layers dry in about five minutes, and I’ve been wearing these a lot lately and talking about them all the time because they’re grrrrreat. I love the colors, and I can usually get 6-7 days out of them before any chips.

multitask-paint-nails-gel-polish

Like I was saying, for my keyboard manis, I’ll do a layer, then type a little while it dries. This time I answered some comments on MBB and wrote two emails. Then I’ll repeat with a second layer.

And as long as I’m careful when I type and don’t bump my nails, I don’t get any nicks.

Time really flies, too, while I’m at my keyboard, so this is truly a nifty mental trick to actually getting your paws painted.

essie-first-view-post-comments

[Continue reading…]

There are 26 comments on this post. Leave yours.

Categories: Essie, Makeup Tips/How To, Nails

10 Cat Eye Tips to Easily Add Impact To Your Look (Featuring the MAC Star Trek Collection)

July 25th, 2016 by Karen 36 Comments

mac star trek
Wearing products from the new MAC Star Trek collection: MAC Pressed Pigment in To Boldly Go on my Lids, MAC Lipstick in LLAP on my lips, Trip the Light Fantastic Powder in Highly Illogical on my cheeks and Nocturnal Liquid Liner to accent my cat eye flicks

Cat eyes.

Seems like they should be easy, right?

Like, how hard can it be to draw a line along your upper lash line with a little flick at the end?

Um…yeah. I wish I was that girl — the one who can effortlessly draw flawless cat eye flicks in a single swoop, but that’s sooo not me.

mac star trek packaging
The MAC Star Trek collection is Starfleet approved

Still, I have figured out a few secret space squirrel tricks over the light years that really do help with your cat eye flicks, and here are 10 of them. I’m using a bunch of products, by the way, from the new 25-piece MAC Star Trek collection, because, as you know, I’m a sci-fi nerd. 🙂 The collection arrives this September.

“Star Trek is an iconic pop culture phenomena whose storylines pushed gender and racial boundaries. For its 50th anniversary, we celebrate each of Star Trek’s powerful women in a transcending, transformational makeup collection.”

— MAC Senior Vice President/Group Creative Director James Gager

1. For big, bright eyes, line just a portion of your upper lash line

Nowadays when doing cat eyes, rather than lining my entire lash line, which I think makes my eyes look smaller, I like to start lining from about a centimer in from the side closest to my nose. So I’m lining about three fourths of the entire length of the lash line, and then drawing the cat eye flick out at the end.

There’s just something about lining the entire lash line that makes the eye look a little smaller, so this way keeps the inner quarter of the lash line unlined.

three-fourths

2. Use different liner formulas together in layers

I’m a big fan of layering different liners together and sketching out the shape of my cat eye before committing to it.

I like to draw the basic shape of my cat eye with a pencil liner first, because they’re easiest to control, and if I make a mistake, pencil formulas are usually easy to correct.

First, I tightline my upper lash lines with the pencil. Then I draw a thin line along the upper lash line and build up the product a bit toward the outer end of the line out to where the flick will begin.

pencil-outline

Next, using an angled brush (because the angle fits the curve of the lid, and I think they’re easier to use than a pencil brush for this) to create the basic shape of my flick and set the angle, I drag the product out that I built up with the pencil in the outer side of my upper lash line in the previous step.

liquid-liner

Then I layer a liquid liner on top of the pencil liner to intensify it.

trace-with-angled-brush

[Continue reading…]

There are 36 comments on this post. Leave yours.

Categories: MAC Makeup, Makeup Tips/How To

For Full, Natural-Looking Brows, Fill in Your Sparse Spots With a Flat Eyeshadow Brush

July 21st, 2016 by Karen 13 Comments

k filling in brows

My new favorite fill-in-those brows trick is to fill in the sparse spots using a flat eyeshadow brush and brow powder or an eyeshadow.

I’m always in favor of, like, evolving and switching up your brow game, because I just think it’s fun to try different products, methods and looks, and this brow look, I feel, is one of the most natural looking. And it’s super duper easy.

brows before and after

The trick is to use a flat eyeshadow brush with a stiff, dense brush head. I alternate between a MAC 239 and a Burberry No. 08 (whatever one is closest and/or less dirty, ha!), and all I do is load the brush with an eyeshadow that’s slightly lighter than my natural brow color.

I use MAC Brun, which is a matte dark brown, and the reason I go with something slightly lighter than my natural brow color is because if I don’t, and I use a black shade closer to my natural hair color, all I can see are BROWS, BROWS, BROWS.

It’s too much.

Using an ever-so-slightly lighter shade tones it down.

brow tools

[Continue reading…]

There are 13 comments on this post. Leave yours.

Categories: Eyes, Makeup Tips/How To

A Refreshing Watercolor Nail Tutorial to Quench Your Thirst for Color

June 24th, 2016 by Jen Clark 10 Comments

IMG_9789

I’m a little giddy today because we’re headed on a little vacation this weekend! We’re headed down south to warmer weather (not that it’s been cold here in Logan, Utah), or should I say, “sweltering weather,” where it’s supposed to be right up around 100 degrees while we’re there. That’s alright with me, though, because I plan to live in the pool.

Since I’m pregnant, there’s been no working out or eating healthy to do (one of my favorite perks), so all I had to do to get ready was just slap on a layer of my favorite fake tan, and grace my usually bare nails with a fresh, summery manicure.

While browsing Pinterest for some inspiration, I fell in love with watercolor nails. You can literally use any colors you want, and it’s so easy! The only special tool you need is a sandwich bag, and I’m pretty sure everyone has those on hand. (See what I did there? Eh?)

Let me show you how quick and easy this is!

1. Start with white nails

Start off with white nails (I’m using China Glaze White On White), and I painted mine the night before to make sure they were completely dry.

From experience, I’ve figured out that if the nails are still a little wet, it’ll cause problems with the rest of the process.

Start off with a white base
Start with a white base
China Glaze White on White

2. Apply your colorful blobs

Working one nail at a time, put a fairly generous blob of each color you want to use on the nail. I put the blobs in different areas so that the nails don’t all turn out looking similar.

I wanted mine to resemble pools of water, so I used two blues — Zoya Blu and Sally Hansen Blue Rose (discontinued) — and a turquoise called Essie Turquoise and Caicos.

IMG_9753

Sally Hansen Blue Rose

IMG_9754

Zoya Blu
Zoya Blu

IMG_9755

IMG_9780
Essie Turquoise and Caicos

[Continue reading…]

There are 10 comments on this post. Leave yours.

Categories: Guest Post, Makeup Tips/How To, Nails

The Lazy Girl’s Guide to Winged Eyeliner

June 20th, 2016 by Jen Clark 34 Comments

Easy winged eyeliner

Winged eyeliner is one of my favorite makeup techniques because it makes such a big impact. It’s not always easy to do, though. In fact, sometimes it’s a freaking pain in the butt. Plus, once you screw it up, it’s hard to save the rest of your makeup look.

For those days when I can’t shake the cute, little toddler hanging off my arm, or for the days when, out of pure laziness, I really just can’t get myself to even attempt liquid liner, I use this easy technique to get the same winged liner effect, but with a lot less frustration!

Rather than using a liquid or gel liner, I use an angled brush and a black or super dark brown eyeshadow like Black or Espresso from the Lorac Pro Palette because they’re easy to work with and super goof-proof.

By the way, I think the best brush of all time to use for this lazy girl’s winged liner is the MAC 266, if you happen to have one. It pretty much does the work for you.

The Black shade in the Lorac Pro palette is great!
One of my all time favorite brushes!
One of my all-time favorite brushes!

[Continue reading…]

There are 34 comments on this post. Leave yours.

Categories: Guest Post, Makeup Tips/How To

How I Fake a Natural Sun-Kissed Glow With Makeup

June 14th, 2016 by Carolina Braina 18 Comments

Sunkissed Makeup Look How-To
Wanna know how I get this natural sun-kissed look? 🙂

Wouldn’t it be great if we could somehow choose what we inherit from our parents?

Like, for instance, I would’ve been very happy to get my dad’s olive complexion instead of his shortish muscular legs.

BUT, oddly enough, I didn’t get a say in that, so I got my mom’s light complexion with an added Mediterranean twist that makes it pretty sallow and sickly. Throw my permanent dark circles into the mix and you get the perfect base for a zombie look.

NICE.

Despite the fact that zombies are quite popular these days, unless it’s October 31, it’s not exactly the look I like to go for, you know.

So, over the years I’ve perfected a makeup routine to make sure no one thinks I have an appetite for their brain. 😉

Sunkissed Glow Makeup How-To

Here’s what I like to use!

A Bronzing Primer: Givenchy Mister Radiant ($43.50)

Givenchy Mister Radiant Sunkissed Makeup Look How-to
Apply your bronzing primer all over your face, neck, and décolletage. Oh, and don’t forget your ears!
Givenchy Mister Radiant Sunkissed Makeup Look How-to
Italy’s MADINA Milano makes a great affordable alternative to the Givenchy Mister Radiant called Exact Color Bronzer.

[Continue reading…]

There are 18 comments on this post. Leave yours.

Categories: Guest Post, Makeup Tips/How To

  • « Go to Previous Page
  • Go to page 1
  • Interim pages omitted …
  • Go to page 21
  • Go to page 22
  • Go to page 23
  • Go to page 24
  • Go to page 25
  • Interim pages omitted …
  • Go to page 93
  • Go to Next Page »

Primary Sidebar

Welcome to Makeup and Beauty Blog

Welcome to Makeup and Beauty Blog! My name is Karen, and I’m a freelance writer obsessed with makeup.

Makeup and Beauty Blog features daily product reviews, makeup tips and beauty news — like an interactive version of a monthly print magazine, except with occasional pictures of my cat.

Recent Posts

Sundays With Tabs the Cat, Makeup and Beauty Blog Mascot, Vol. 878

Makeup and Beauty Blog Monday Poll, Vol. 894

Makeup and Beauty Blog Monday Poll, Vol. 893

Makeup and Beauty Blog Monday Poll, Vol. 892

Makeup and Beauty Blog Monday Poll, Vol. 891

/* real people should not fill this in and expect good things – do not remove this or risk form bot signups */

Social

  • Facebook
  • Instagram
  • Pinterest
  • Twitter
  • YouTube

Featured Posts

Sundays With Tabs the Cat, Makeup and Beauty Blog Mascot, Vol. 771

Lady Unicorn

Weird Things I Like to Do

brows fill out beforehand

Before You Pluck or Wax Your Brows, You Must Do This

current bare skin status

What’s One Thing That Drastically Changed Your Skin for the Better?

Copyright © 2025 Makeup and Beauty Blog. Get in touch.